Flushing your car’s brake fluid is an essential maintenance procedure that guarantees the longevity and safety of your vehicle’s hydraulic braking system. This process involves removing old, contaminated fluid and replacing it with fresh, high-performance fluid, ensuring that your brakes perform reliably under all conditions. This comprehensive DIY guide will walk you through the entire process of how to flush brake fluid, providing detailed steps, technical insights, and necessary safety precautions to enhance your confidence while performing this crucial task.
Why is Flushing Brake Fluid Important for Vehicle Safety?
Brake fluid is the hydraulic medium that transmits force from your brake pedal to the braking components at the wheels, facilitating effective stopping power. Unlike engine oil, which may degrade over time, brake fluid’s effectiveness is significantly compromised by its hygroscopic nature; it readily absorbs moisture from the atmosphere. Over time, the glycol-based brake fluids (DOT 3, DOT 4, DOT 5.1) become saturated with moisture, lowering their boiling point and making them susceptible to vapor lock—a condition where vapor bubbles form in the braking system, leading to a spongy brake pedal and less responsive braking ability.
Neglecting to flush and replace brake fluid can lead to braking system failures, including diminished stopping power and costly repairs to components like the master cylinder or anti-lock braking system (ABS). Vehicle manufacturers generally recommend changing brake fluid every 2 years or 24,000 miles (approximately 38,624 kilometers) to prevent this degradation. Vehicles exposed to harsh climates, frequently towing, or participating in intense performance driving may necessitate more frequent flushing, sometimes recommending intervals as short as every 20,000 miles.
Regular inspection of brake fluid color is also important; fresh fluid should be clear or have a honey/golden hue, while dark or murky fluid indicates contamination. For more detailed information on brake maintenance intervals and the significance of proper brake fluid levels, refer to our articles on How to Change Your Brake Fluid: A Complete DIY Guide and How Often Should You Bleed Your Car Brakes? The Definitive Guide to Brake Fluid Flushing.
What Tools and Materials Do You Need for a Brake Fluid Flush?
To successfully execute a brake fluid flush, gathering the right tools beforehand is crucial for an efficient and safe process. Using specialized equipment minimizes the risk of air being introduced into the brake lines and prevents spills of corrosive brake fluid. It’s essential to consult your vehicle’s owner’s manual to confirm the specific type of brake fluid (e.g., DOT 3, DOT 4, or DOT 5.1) suitable for your vehicle.
Key tools and materials include new brake fluid (always from a sealed container to prevent moisture absorption), a brake bleeder kit (options include manual vacuum pumps, pressure bleeders, and speed bleeders featuring a one-way valve) or a turkey baster, a wrench or socket set configured for bleeder screws (a six-point wrench is preferable to avoid stripping), clear plastic tubing, and a container for the old fluid. Additionally, safety gear, such as disposable gloves, eye protection, and protective clothing, is necessary, as brake fluid may cause skin irritation and damage paintwork.
Having wheel chocks, a jack, and jack stands will ensure your vehicle remains stable. Rust penetrant might be beneficial if you encounter seized bleeder screws, while brake cleaner is handy for managing any spills. With everything prepared, you are ready to proceed with the brake fluid flush procedure.
How to Flush Brake Fluid: Step-by-Step Guide
Executing a complete brake fluid flush is paramount for optimal braking performance and the longevity of the hydraulic system. Following these detailed instructions will guide you in safely and effectively replacing old brake fluid.
What Preparations and Safety Measures Do You Need Before Flushing Brake Fluid?
Before initiating any work on your vehicle, prioritize safety. Park on a flat, stable surface, engage the parking brake, and use wheel chocks behind the wheels that will not be lifted. If wheel removal is necessary, loosen lug nuts first, then raise the vehicle using a jack and secure it on jack stands. Remember, never perform work underneath a vehicle supported solely by a jack.
It’s advised to wear appropriate personal protective equipment, including safety glasses and non-permeable gloves to prevent contact with corrosive brake fluid. Lay down protective materials, like cardboard or old rags, to capture any spills. Thoroughly clean the area around the master cylinder reservoir cap before removal to minimize the risk of contaminating the new brake fluid.
How Do You Drain Old Brake Fluid?
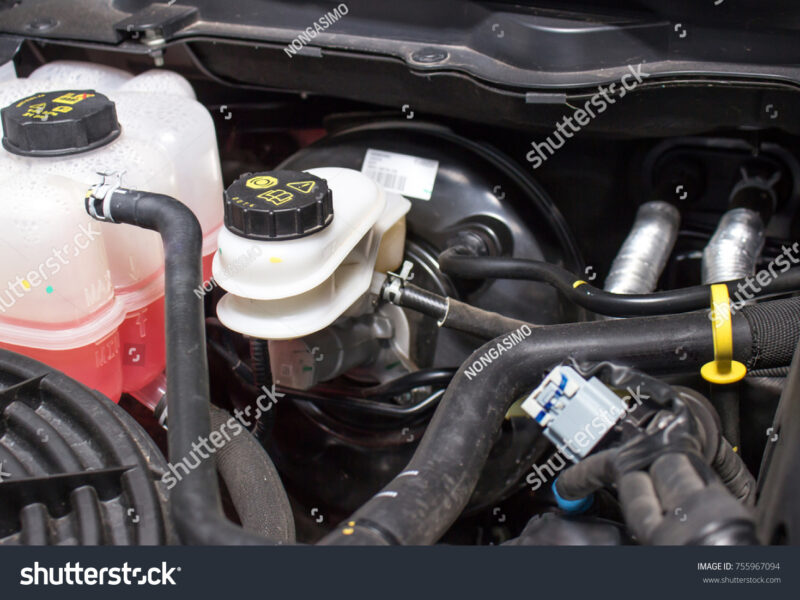
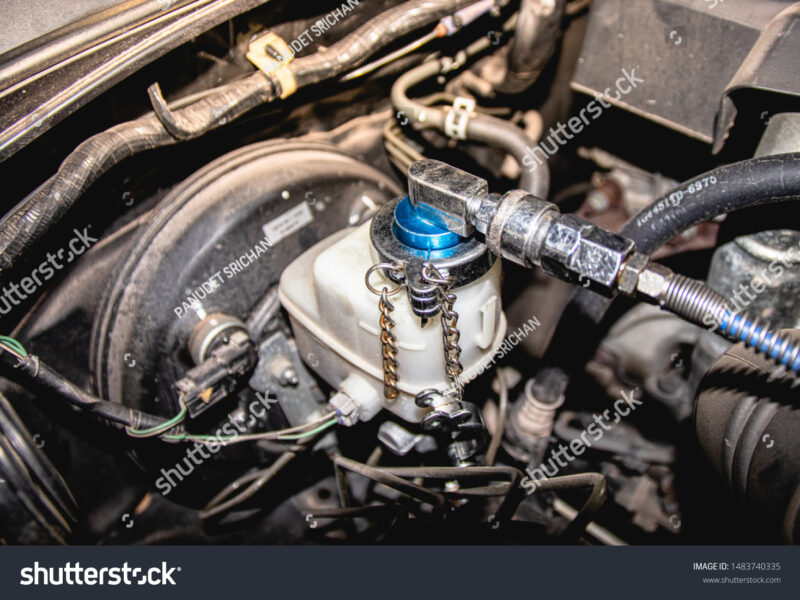
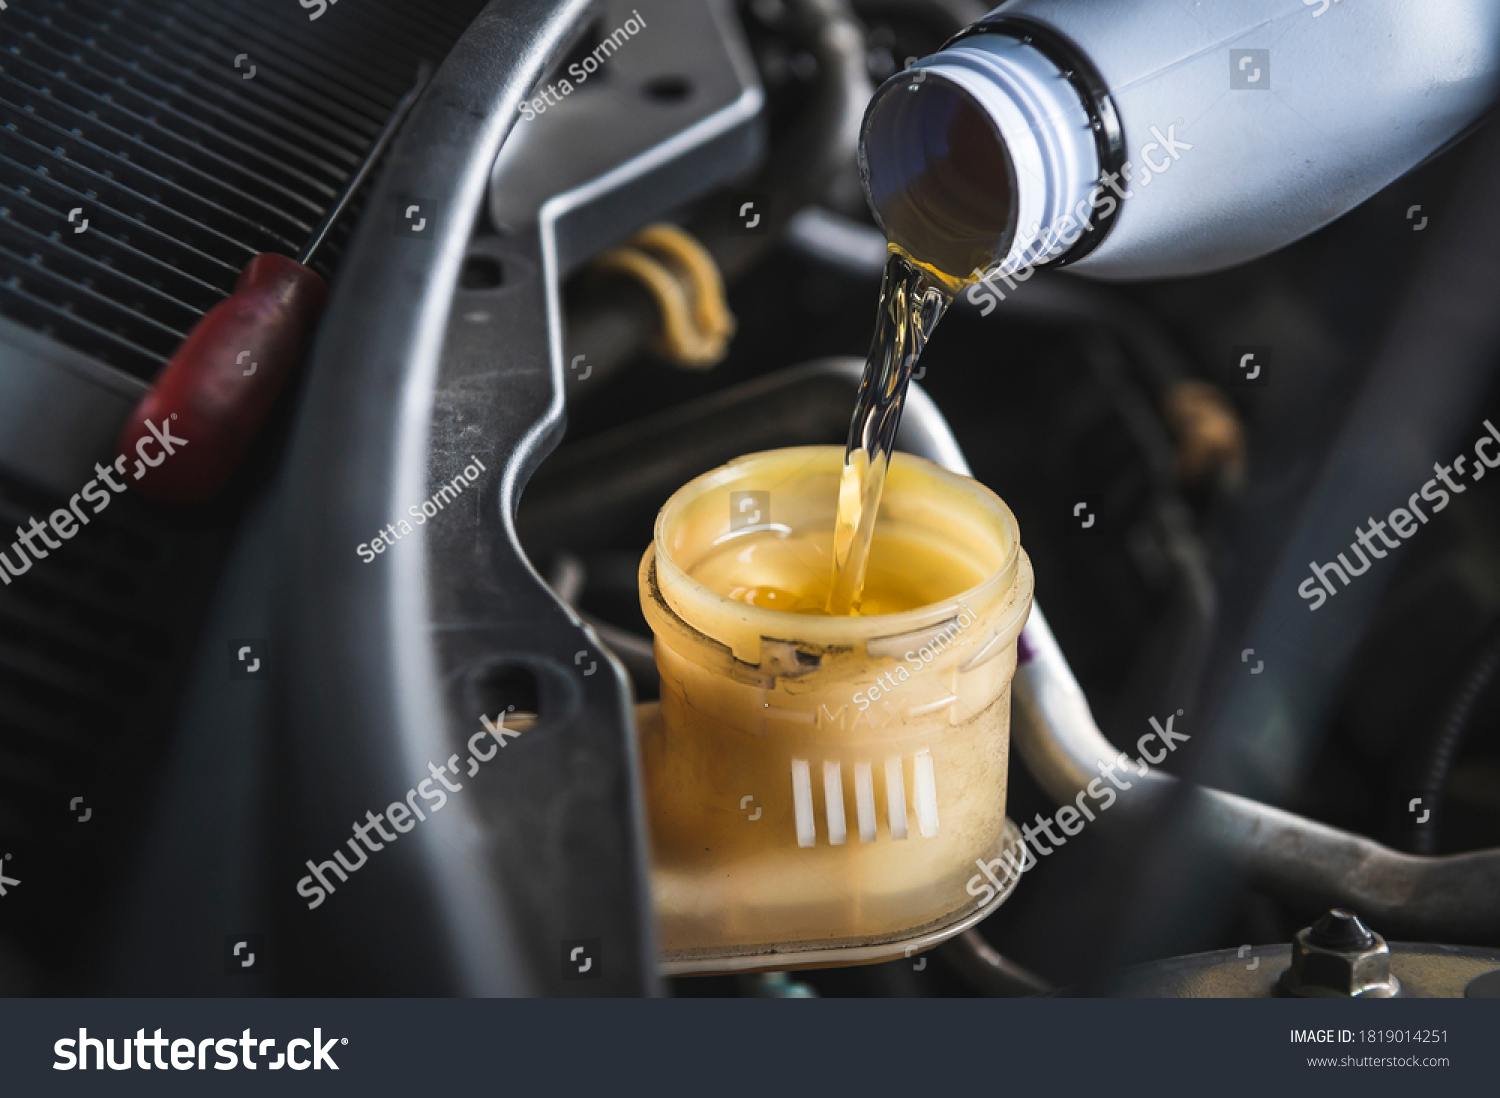
Identifying the brake master cylinder reservoir, usually found under the vehicle’s hood, is the next essential step. Carefully remove the cap and utilize a clean turkey baster or fluid syringe to extract as much old, discolored brake fluid as possible. Avoid completely draining the reservoir to prevent air from entering the system. Be sure to dispose of the old fluid responsibly in a designated recycling container; it should never be poured down the drain. Refill the reservoir up to the “MAX” line with fresh, new brake fluid from a sealed container to prevent moisture intrusion, ensuring the cap remains on the new brake fluid bottle.
What is the Correct Procedure for Bleeding Brakes Wheel by Wheel?
The bleeding process is crucial as it effectively removes old fluid and trapped air from the brake lines. Initially, you should start with the wheel farthest from the master cylinder, typically the rear passenger side, subsequently moving to the rear driver side, front passenger, finishing at the front driver side.
For each wheel, follow these steps closely:
- Securely attach a clear plastic hose to the bleeder screw on the brake caliper or wheel cylinder. Ensure the hose fits tightly to avoid introducing air into the system, with the other end submerged in new brake fluid within a clean container to prevent air from being drawn back.
- Using a six-point wrench, release the bleeder screw by a quarter to half turn.
- Utilize the two-person method: have an assistant pump the brake pedal 3-5 times until the pedal feels firm, holding it down once firm. While holding, open the bleeder screw to allow old fluid and air to escape, watching for old fluid and air bubbles in the clear hose. Secure the bleeder screw once more before your assistant releases the pedal, repeating until you observe clear, bubble-free fluid.
- If employing the one-person method, follow the instructions for your particular bleeder kit: for a vacuum pump, attach it, create a vacuum, then open the screw to extract fluid and air; for a pressure bleeder, pressurize the master cylinder and sequentially open each bleeder screw. Consistently monitor the fluid level in the master cylinder reservoir and refill with new brake fluid as necessary to prevent the reservoir from running dry, which could introduce air into the master cylinder and necessitate re-bleeding.
- Once you see clear fluid, tighten the bleeder screw securely (avoid overtightening to prevent stripping) and detach the hose. Reinstall protective caps on the bleeder screws and continue with the remaining wheels in the defined order.
For more detailed troubleshooting about air in brake lines, refer to our article titled Air in Your Brake Lines? Symptoms, Causes, and How to Fix It.
What Should You Check After Flushing Brake Fluid?
Post-flush, ensure the brake fluid reservoir is filled to the “MAX” line. Recheck all bleeder screws for tightness. Pumping the brake pedal several times can help build pressure; a firm pedal is the goal, while spongy feedback suggests residual air in the system—requiring additional bleeding starting from the farthest wheel.
Before hitting the road, conduct a test drive at low speeds in a safe environment, gradually testing brakes to ensure they respond correctly and firmly. Inspect for fluid leaks around the bleeder screws and the master cylinder. Comprehensive disposal of all used brake fluid in accordance with local hazardous waste regulations is imperative, as improper disposal can lead to serious environmental consequences.
What Types of Brake Fluid Should You Use: DOT 3, DOT 4, or DOT 5?
Choosing the suitable type of brake fluid is indispensable for ensuring effective vehicle operation and maintaining the integrity of braking systems. The U.S. Department of Transportation (DOT) categorizes brake fluids based on their boiling points and chemical compositions, primarily DOT 3, DOT 4, DOT 5, and DOT 5.1. Always consult your vehicle’s owner’s manual or the master cylinder reservoir cap for the manufacturer’s recommended DOT specification.
Beneath the surface, DOT 3, DOT 4, and DOT 5.1 fluids are glycol-based and hygroscopic, which means they can absorb moisture over time. The boiling point markedly varies among these fluids: DOT 4 generally offers a higher dry boiling point than DOT 3, while DOT 5.1 provides even better performance under extreme conditions. DOT 4 is the standard recommendation for the majority of modern passenger vehicles due to its balanced performance and price. Conversely, DOT 5 should be avoided in most circumstances as it is silicone-based and hydrophobic, being wholly incompatible with glycol-based fluids which can lead to catastrophic brake system failure.
| Brake Fluid Specification | DOT 3 | DOT 4 | DOT 5 | DOT 5.1 |
|---|---|---|---|---|
| Base Type | Glycol-based | Glycol-based | Silicone-based | Glycol-based |
| Dry Boiling Point (minimum) | 205°C (401°F) | 230°C (446°F) | 260°C (500°F) | 260°C (500°F) |
| Wet Boiling Point (minimum) | 140°C (284°F) | 155°C (311°F) | 180°C (356°F) | 180°C (356°F) |
| Hygroscopic Nature | Yes (absorbs moisture) | Yes (absorbs moisture) | No (repels water) | Yes (absorbs moisture, slower) |
What Common Issues May Arise During a Brake Fluid Flush?
Even when prepared effectively, challenges can arise while flushing brake fluid. One significant pitfall is allowing the master cylinder reservoir to deplete during your bleeding process. If the fluid level drops below the “MIN” line, air could easily enter the system and necessitate complete re-bleeding. Consistent monitoring and refilling the reservoir prevents this issue.
Moreover, if air becomes trapped within the brake lines, you may experience a spongy brake pedal post-flush. This situation often results from either screwing the bleeder too loosely during the application of pressure or pulling a hose free while the bleeder is open. Should you encounter this discomfort, re-bleeding the affected wheel(s) is essential while ensuring tight seals, proper pedal operations, and clarity in fluid observation.
Frequently Asked Questions Regarding Brake Fluid Flushing
How Often Should I Flush My Brake Fluid?
Most vehicle manufacturers advise flushing brake fluid every 2 years or 24,000 miles (approximately 38,624 kilometers), whichever occurs first. However, some scenarios require more frequent changes, including the vehicle’s typical operating conditions. For instance, vehicles frequently operated in high-humidity environments or used for towing may benefit from annual fluid replacement or every 20,000 miles. Regular evaluations of brake fluid color can also signal impending flush requirements; fresh fluid is typically clear or light amber whereas dark fluid suggests contamination that necessitates a flush.
It’s essential to maintain a proactive approach towards brake fluid maintenance. Monitoring your brake fluid’s performance and consistently adhering to manufacturer recommendations will not only enhance safety but also prolong the life of your brake components. If any signs of poor performance arise, such as a soft pedal feel or delayed responsiveness, you should perform a flush promptly.
What Are the Signs of Old or Contaminated Brake Fluid?
Old or contaminated brake fluid usually manifests in the form of a soft or spongy brake pedal feel. This phenomenon results from the moisture-laden brake fluid exhibiting a reduced boiling point, allowing vaporization during use and contributing to the formation of air bubbles. Other indicators include decreased braking effectiveness, extended stopping distances, and a pedal that sinks to the floor when held down. In terms of visual cues, new brake fluid is generally clear or light honey-colored, while indications of contamination appear dark brown or black, necessitating immediate action.
Can I Mix Different Types of Brake Fluid?
Mixing different brake fluid types is generally inadvisable, particularly combining DOT 5 (silicone-based) with glycol-based fluids (DOT 3, DOT 4, DOT 5.1). Such mixtures can result in severe damage to the braking system due to incompatibility, including seal degradation and sludge buildup. While DOT 3, DOT 4, and DOT 5.1 can be mixed in emergency scenarios, the resultant fluid will default to the inferior performance characteristic of the lower-grade fluid within the blend. Always verify your vehicle’s appropriate fluid type by referencing its owner’s manual, ensuring you utilize new, sealed containers of the precise specification.
Is Brake Fluid Flushing Equivalent to Bleeding Brakes?
Although closely related, brake fluid flushing and bleeding serve distinct purposes. Brake bleeding focuses on eliminating air bubbles from specific brake lines that can occur when components are replaced or if the reservoir runs dry, aiming to restore a firm brake feel. Conversely, a brake flush is a holistic process that entails completely draining all old, degraded fluid from the entire hydraulic system and substituting it with new fluid. Although bleeding may be part of the flushing process, the flush’s reach aims to renew the system’s health while bleeding merely targets air exclusion. To delve deeper into the nuances of brake bleeding, see our guide on How Often Should You Bleed Your Car Brakes? The Definitive Guide to Brake Fluid Flushing.
What Safety Precautions Should I Take When Handling Brake Fluid?
While handling brake fluid, prioritizing safety is paramount; always wear protective eyewear and impermeable gloves to safeguard against irritation caused by brake fluid. The corrosive nature of these fluids can severely damage painted areas; thus, it’s advisable to don old clothes or an apron and immediately clean any spills with water. Moreover, ensuring adequate ventilation during handling eliminates the risk of inhaling vapors. It’s crucial to keep brake fluid, which contains diethylene glycol (DEG), stored securely to prevent accidental ingestion by children or pets. Complying with local laws while disposing of waste brake fluid is vital, as improper disposal could pose significant ecological threats.