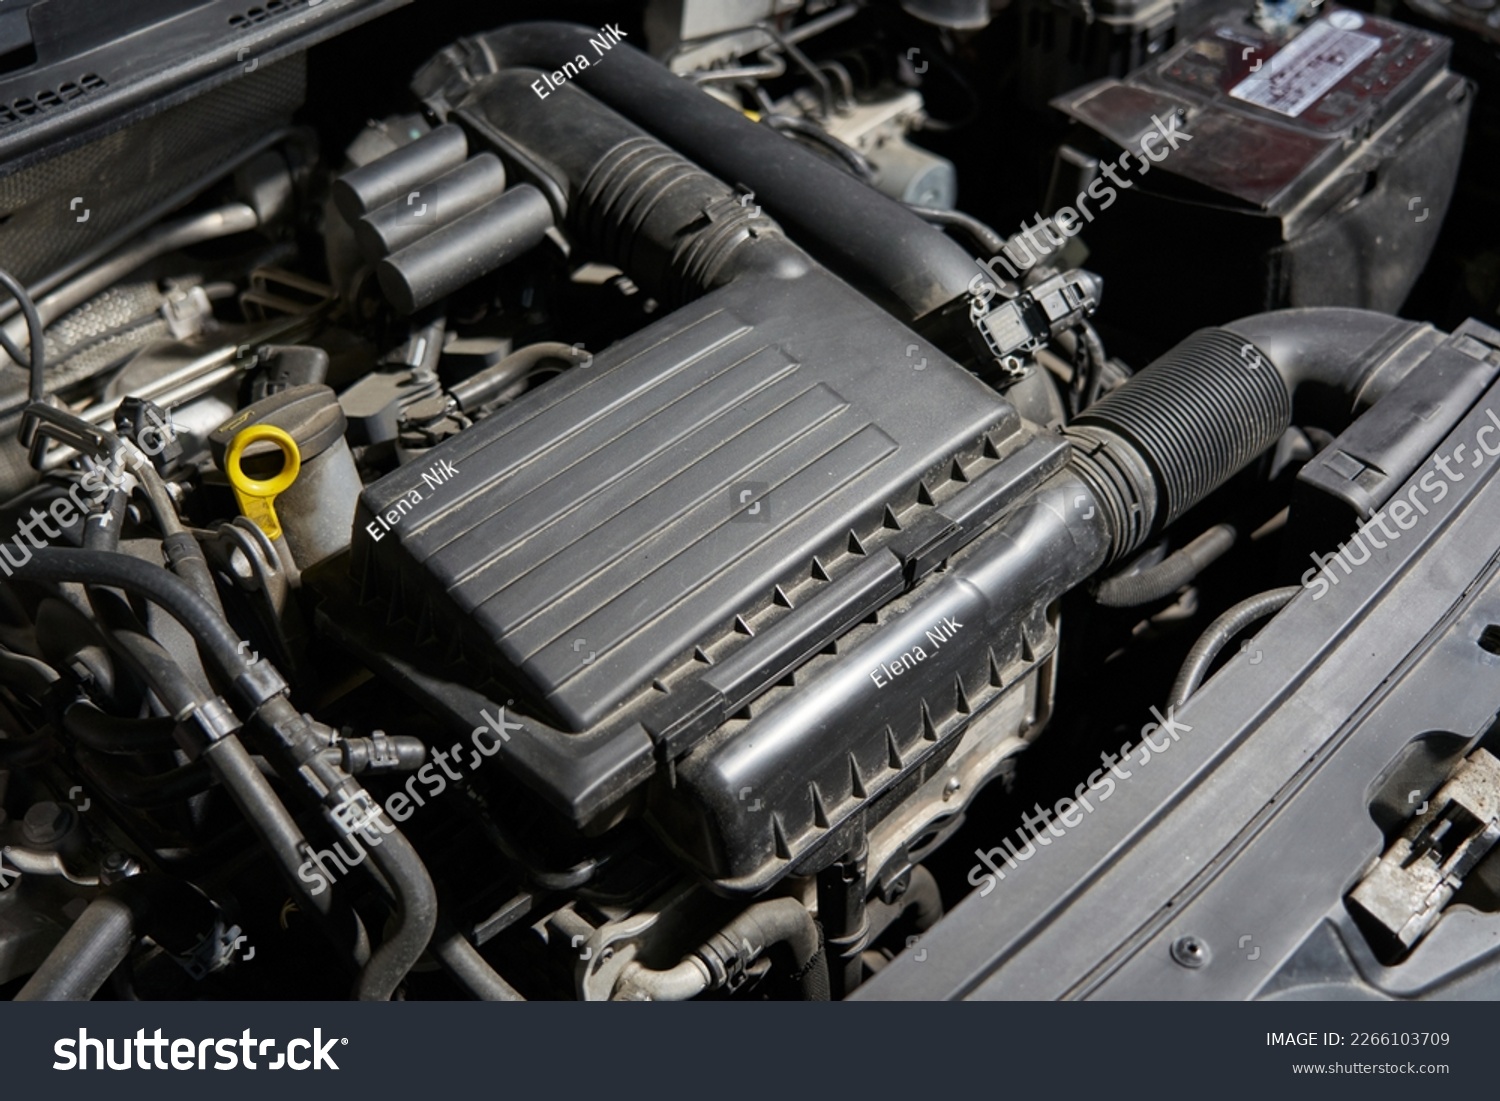
Cleaning your car’s engine air filter is a vital maintenance task that can significantly enhance both engine performance and fuel economy. By ensuring your engine breathes clean air, you directly support optimal combustion, leading to a more efficient and responsive vehicle.
Why is Cleaning Your Car Air Filter Crucial for Engine Health?
A clean engine air filter plays a pivotal role in maintaining the health and efficiency of your internal combustion engine. Its primary function is to prevent dirt, dust, pollen, and other environmental contaminants from entering the engine’s combustion chamber. Without this critical barrier, abrasive particles could cause premature wear and damage to sensitive internal components, such as cylinders and pistons, potentially leading to costly repairs and a reduced engine lifespan.
Beyond protection, a clean air filter is essential for achieving the ideal air-fuel ratio required for comprehensive and efficient combustion. When an air filter becomes clogged with debris, it restricts airflow to the engine, forcing it to work harder to draw in the necessary air. This increased effort can result in decreased acceleration, reduced power output, and notably, diminished fuel efficiency. Studies indicate that a clean air filter can boost fuel efficiency by approximately 10% in older vehicle models, such as the Honda Accord (2003).
The specific impact of a clean air filter extends to horsepower production as well. For example, vehicles like the Ford F-150, when equipped with a high-performance, clean air filter, can experience improved throttle response and overall power delivery. This is because unrestricted airflow allows the engine to operate within its designed parameters, maximizing its potential for both performance and longevity. Regular inspection and cleaning or replacement of your engine air filter are thus fundamental to proactive vehicle maintenance.
For more detailed insights into the broader effects of air filtration on your vehicle, explore our article on Beyond the Basics: How a Clean Air Filter Impacts Engine Performance and Fuel Economy.
Understanding Your Air Filter: Disposable vs. Washable Performance
Automotive air filters come in various types, each with distinct characteristics regarding material, lifespan, and maintenance requirements. The two primary categories for engine air filters are disposable paper filters and washable/reusable high-performance filters. Understanding these differences is crucial before attempting any cleaning process, as not all filters are designed to be cleaned.
Disposable paper air filters are the most common type, found in the majority of vehicles. These filters are typically made from pleated paper or synthetic fibers designed to trap particles effectively. Due to their construction, they are generally treated as single-use items and should be replaced when dirty, rather than cleaned. Attempting to clean a paper filter, especially with high-pressure air or water, can damage its delicate pores and reduce its filtration efficiency, potentially allowing contaminants to enter your engine.
In contrast, washable or reusable air filters, often made from cotton gauze or foam (e.g., K&N filters), are specifically designed for cleaning and re-oiling. These filters often offer enhanced airflow while maintaining excellent filtration, appealing to performance enthusiasts. While their initial cost is higher than disposable filters, their reusability can lead to long-term savings and reduced waste. It is these washable filters that are the focus of a DIY cleaning guide, as they are engineered to withstand the cleaning process without compromising their structural integrity or filtration capabilities.
To learn more about the various types of filters and which one is best suited for your vehicle, refer to our comprehensive guide: Understanding Different Types of Car Air Filters: Which One is Right for Your Vehicle?.
Essential Tools and Products for a DIY Air Filter Cleaning
Before you begin the cleaning process for a washable engine air filter, it’s crucial to gather the correct tools and specialized cleaning products. Using the right materials ensures an effective cleaning without damaging the filter media or compromising its performance. This preparation step is vital for a successful DIY maintenance job.
You will typically need a screwdriver or ratchet to access the air filter housing, a shop vacuum or soft brush for initial debris removal, and a low-pressure water source for rinsing. For washable, oiled filters, a specialized cleaning kit is indispensable. Brands like K&N offer complete kits that include both a specific filter cleaner solution and the appropriate re-oiling product. These cleaners are formulated to safely dissolve trapped dirt and old filter oil without harming the cotton gauze or foam media.
Additionally, clean towels or microfiber cloths are helpful for wiping down the airbox and handling the clean filter, and gloves are recommended for personal protection against cleaning solutions. Avoid using harsh detergents, gasoline, or high-pressure compressed air, especially on paper filters, as these can cause irreparable damage to the filter’s structure and reduce its effectiveness. Always consult your filter manufacturer’s recommendations for specific cleaning agents and methods to ensure proper care.
Step-by-Step Guide: How to Clean a Washable Engine Air Filter
Cleaning a washable engine air filter is a straightforward process that can be completed with basic tools and the right products. Following these steps carefully will ensure your filter is thoroughly cleaned and properly re-oiled (if applicable), ready to protect your engine and optimize its performance.
Step 1: Accessing and Inspecting Your Filter
Begin by locating your vehicle’s engine air filter housing. This is typically an easily identifiable plastic box situated near the top of the engine compartment, connected to the air intake system. Use a screwdriver or appropriate ratchet to unfasten the clips or screws securing the airbox cover, then carefully remove the cover and the air filter element.
Once removed, visually inspect the filter for any signs of damage such as tears, holes, or excessively bent pleats. If the filter media is compromised, cleaning may not be sufficient, and replacement might be necessary. Note the direction of airflow indicated on the filter, if present, as this will be important for rinsing.
Step 2: Removing Loose Debris
Gently tap the filter against a solid surface to dislodge larger pieces of loose dirt, leaves, and other debris. For more embedded particles, you can use a shop vacuum with a brush attachment or a soft brush (like a paintbrush) to carefully remove dirt from between the pleats. Work from the clean side (the side facing the engine) outwards to avoid pushing contaminants deeper into the filter media.
It’s important to be gentle during this step, especially with cotton gauze filters, to avoid damaging the delicate fibers. Never use stiff brushes or apply excessive force, which could distort the pleats or tear the media, compromising filtration.
Step 3: Applying the Cleaning Solution
Liberally spray a specialized air filter cleaning solution, such as a K&N air filter cleaner, onto the entire surface of the filter. Ensure full saturation of the pleated media. Allow the cleaner to soak for the time recommended by the product manufacturer, typically between 10 to 15 minutes. This allows the solution to penetrate and break down the accumulated dirt and old filter oil.
During this soaking period, the cleaner works to lift stubborn contaminants from the filter’s fibers. Do not let the cleaner dry on the filter, as this could make it harder to rinse off effectively. Always follow the specific instructions on your chosen cleaning product for optimal results.
Step 4: Rinsing the Filter Thoroughly
After the soaking period, rinse the filter thoroughly under low-pressure running water. Crucially, always rinse from the clean side of the filter (the inside, opposite to the direction of normal airflow) outwards. This technique helps to flush out the loosened dirt and cleaning solution without embedding particles deeper into the filter media.
Continue rinsing until the water runs clear from the dirty side of the filter. Ensure all traces of the cleaning solution are removed, as any residue could hinder the filter’s performance or attract dirt more quickly. Avoid using high-pressure nozzles, which can damage the filter’s pleats or tear the media.
Step 5: Drying the Filter Completely
Proper drying is one of the most critical steps in cleaning a reusable air filter. After rinsing, gently shake off any excess water and allow the filter to air dry completely. Place the filter in a clean, well-ventilated area, away from direct sunlight or heat sources. This process can take several hours, or even up to 24 hours, depending on ambient humidity and temperature.
Never use compressed air, heat guns, or clothes dryers to accelerate the drying process, as excessive heat or force can severely damage the filter media, distort the pleats, or compromise the integrity of the filter’s bonding agents. A completely dry filter is essential before proceeding to the re-oiling step, especially for cotton gauze filters.
Step 6: Re-oiling the Filter (If Applicable)
This step applies specifically to oiled cotton gauze filters. Once the filter is completely dry, apply a specialized filter oil, such as K&N filter oil, sparingly and evenly along each pleat. Hold the oil container about an inch from the filter and apply a thin, continuous bead along the crest of each pleat, working from one end to the other.
Allow the oil to wick (absorb) into the filter media for approximately 20-30 minutes. The oil will spread and create the necessary tackiness to capture fine dust particles. If there are any dry spots after wicking, apply a small amount of oil to those areas. It is crucial to avoid over-oiling, as excess oil can restrict airflow, potentially contaminate the mass airflow (MAF) sensor, and lead to engine performance issues or check engine lights. Wipe away any visible excess oil before reinstalling the filter.
When to Consider Professional Help or Replacement
While DIY cleaning of washable air filters offers significant benefits, there are instances when professional intervention or outright replacement is the most advisable course of action. Recognizing these situations can prevent further vehicle damage and ensure optimal performance.
For disposable paper engine air filters, cleaning is generally not recommended, and they should be replaced according to your vehicle manufacturer’s guidelines, typically every 12,000 to 15,000 miles. If a paper filter is heavily soiled, torn, or shows signs of structural damage, immediate replacement is necessary to protect your engine. Attempting to clean these filters can damage the filtration media and reduce their effectiveness.
Furthermore, if your vehicle exhibits persistent symptoms of poor engine performance, reduced fuel economy, or unusual engine noises after cleaning a washable filter, it might indicate an issue beyond the air filter itself. In such cases, a professional mechanic can diagnose underlying problems, inspect other critical components, and ensure your vehicle is operating safely. For issues related to internal engine components or persistent MAF sensor problems, professional diagnostics are essential.
It’s also important to differentiate between engine air filters and cabin air filters. If you notice symptoms like reduced airflow from your vehicle’s vents, unpleasant or musty odors emanating from the AC system, or increased dust inside the cabin, these are key indicators of a dirty cabin air filter. While some cabin filters can be cleaned, many are disposable and require replacement. For a comprehensive guide on identifying and addressing these issues, consult our article 4 Warning Signs of a Dirty Cabin Air Filter and How to Replace It.
| Feature | Disposable Paper Filters | Washable Oiled Filters (e.g., K&N) |
|---|---|---|
| Material | Pleated paper or synthetic fibers | Cotton gauze or synthetic fibers, pre-oiled |
| Lifespan/Replacement Interval | Typically 12,000 – 15,000 miles | Can last up to 50,000 – 100,000 miles with proper maintenance (clean every 12,000 miles for standard use) |
| Maintenance | Replace when dirty; not recommended for cleaning | Clean and re-oil periodically (e.g., every 1-3 months or 12,000 miles, depending on driving conditions) |
| Initial Cost | Lower (e.g., $10 – $30 USD) | Higher (e.g., $40 – $80+ USD for filter, plus cleaning kit) |
| Filtration Efficiency | Very good, traps small particles | Excellent, oil acts as a ‘sticky trap’ for fine particles |
| Airflow | Good (when clean), can restrict significantly when dirty | Often designed for higher airflow than stock paper filters |
Frequently Asked Questions About Cleaning Car Air Filters
How often should I clean my car’s air filter?
The cleaning frequency for your car’s air filter largely depends on the type of filter and your driving conditions. For washable, reusable engine air filters (like K&N filters), a general rule of thumb is to clean and re-oil them every 12,000 miles under standard driving conditions, or at every oil change interval. However, if you frequently drive in dusty, dirty, or off-road environments, you may need to inspect and clean your filter more often, potentially every 5,000 to 6,000 miles. Disposable paper filters are typically replaced every 12,000 to 15,000 miles, as they are not designed for cleaning.
Can I use compressed air to clean a paper air filter?
Generally, it is not recommended to use compressed air, especially high-pressure compressed air, to clean a paper air filter. The high pressure can damage the delicate filter pores, enlarging them and reducing the filter’s ability to trap small particles effectively. This can also cause small tears or damage to the filter material, compromising its integrity and allowing contaminants to bypass the filter and enter your engine. While some dry (non-oiled) filters can be gently blown out with low-pressure compressed air from the inside out to extend their life, it’s crucial to consult the manufacturer’s specific instructions. For paper elements, if debris persists after light tapping, replacement is usually the best option.
What are the dangers of over-oiling a reusable air filter?
Over-oiling a reusable air filter can lead to several significant problems for your vehicle. The primary danger is that excess oil can be drawn into the engine’s intake system and potentially contaminate the Mass Air Flow (MAF) sensor. A fouled MAF sensor can send incorrect readings to the engine’s computer, leading to issues such as a check engine light, poor fuel economy, reduced engine power, rough idling, or even stalling. Additionally, excessive oil can restrict airflow more than intended, making the engine run rich, which can affect performance and potentially damage catalytic converters over time. It’s crucial to apply filter oil sparingly and allow it to wick evenly, wiping away any excess before reinstallation.
How does a clean air filter specifically improve fuel economy?
A clean engine air filter directly improves fuel economy by ensuring an optimal air-fuel ratio for combustion. When an air filter is clogged with dirt and debris, it restricts the amount of air reaching the engine. This forces the engine’s computer to compensate by increasing fuel delivery to maintain a proper mixture, leading to incomplete combustion and wasted fuel. With a clean air filter, the engine receives an adequate and consistent supply of clean air, allowing for a balanced air-to-fuel ratio and more complete combustion. This efficiency translates into more power generated from less fuel, resulting in better miles per gallon. For example, studies have shown that a clean air filter can improve fuel efficiency by approximately 10% in older vehicle models like the Honda Accord (2003).