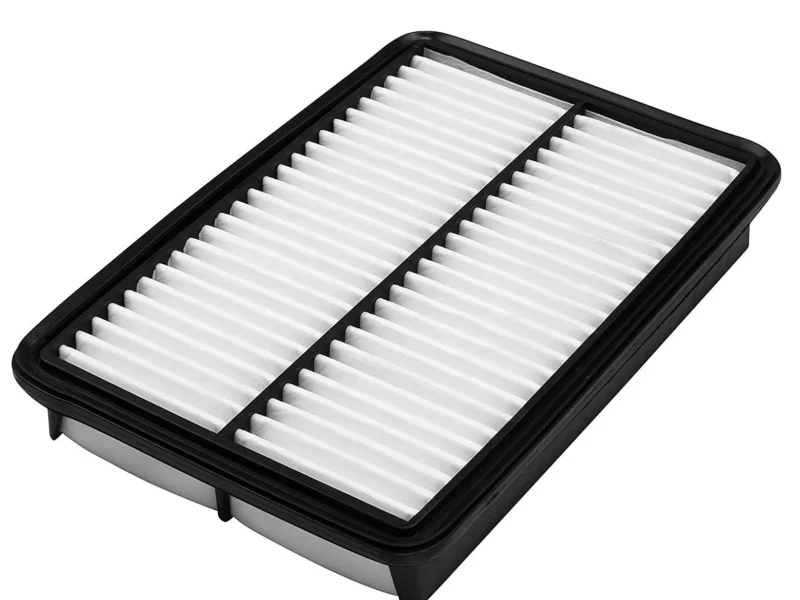
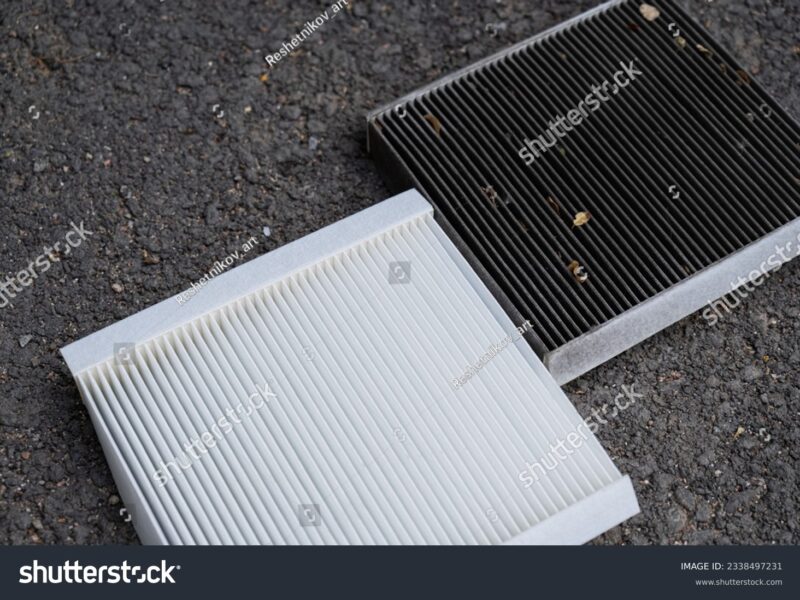
A car cabin air filter is an essential element of your vehicle’s Heating, Ventilation, and Air Conditioning (HVAC) system. This unassuming component purifies the air entering the passenger compartment, filtering out dust, pollen, mold spores, allergens, and pollutants. By doing so, it ensures a cleaner and fresher environment for everyone inside the vehicle. Unlike the engine air filter, which guards the engine against debris, the cabin air filter specifically protects the health of your passengers.
Why is Regular Cabin Air Filter Replacement Important for Your Vehicle and Health?
Replacing your cabin air filter regularly is crucial for maintaining both the air quality within your vehicle and the efficiency of your HVAC system. A clean filter blocks hazardous pollutants and allergens, providing relief for those with allergies or respiratory conditions. Furthermore, a clogged filter forces the HVAC system to labor harder, resulting in reduced airflow, compromised heating and cooling performance, and potentially higher fuel consumption.
Symptoms of a dirty cabin air filter may include decreased airflow from the vents, musty or unpleasant odors inside the cabin, increased fan noise, and a visible accumulation of dust on surfaces. Persistent strange smells often indicate that the cabin air filter is due for a change, as this is typically caused by mold, mildew, or trapped debris. For more on diagnosing car odors, explore our article on What’s That Smell? Diagnosing Exhaust Fumes Inside Your Car.
How Often Should You Replace Your Car’s Cabin Air Filter?
The ideal frequency for changing your cabin air filter varies depending on the vehicle manufacturer, driving conditions, and filter type. However, a general guideline suggests replacing it every 12,000 to 15,000 miles or at least once a year. If you often drive in dusty environments, polluted urban areas, or regions with high pollen counts, more frequent replacements may be necessary. Always consult your vehicle’s owner manual for tailored service intervals.
Recommended Cabin Air Filter Replacement Schedule
| Driving Condition | Recommended Interval | Typical Mileage Range |
|---|---|---|
| Normal Urban/Suburban Driving | Every 12-15 months | 15,000 – 30,000 miles |
| Dusty Roads / High Pollution | Every 6-9 months | 5,000 – 8,000 miles |
| Heavy Allergy Season | Every 6 months (or seasonally) | Varies by exposure |
| After Purchasing Used Car | Immediately (if unknown) | N/A |
What Tools and Materials Are Required for Cabin Air Filter Replacement?
Replacing a cabin air filter is generally a straightforward DIY task that requires minimal tools. While the specifics may vary by vehicle make and model, you will typically need: a new cabin air filter compatible with your vehicle, a screwdriver (Phillips, flathead, or Torx for some European models), and work gloves to protect your hands from dust and debris. A vacuum cleaner or a damp cloth is also useful for cleaning the filter housing area.
Step-by-Step Guide: How to Replace Your Car’s Cabin Air Filter in 15 Minutes
Replacing your car’s cabin air filter is a quick and impactful maintenance task that can dramatically enhance interior air quality and HVAC performance. Here’s a general guide to follow; always refer to your vehicle’s owner’s manual for specific instructions tailored to your model.
- Prepare the Work Area: Start by parking your vehicle on a flat, dry surface. Engage the parking brake and turn off the engine. If the filter is behind the glove compartment, clear out any items stored there. Wearing gloves is advisable to handle dust and debris.
- Locate the Filter: The cabin air filter is typically found behind the glove compartment or under the hood, near the windshield cowl. Your owner’s manual will guide you to the exact location.
- Access the Filter Housing (Glove Compartment Method):
- Open the glove box and empty its contents.
- You may need to detach the glove box damper or release the stopper arms (tabs) by squeezing or twisting them inward.
- If screws secure the glove box, use a screwdriver for removal. Gently pull or pivot the glove box downwards to expose the filter housing.
- Access the Filter Housing (Under the Hood Method): If the filter is under the hood, find the rectangular plastic cover, which is typically located near the base of the windshield on the passenger side. Release any clips, latches, or screws that secure this cover.
- Remove the Old Filter: The filter housing usually has clips or tabs. Gently push them inward or lift them to open. Carefully slide the old filter out, noting the direction of the airflow arrow on its frame. This arrow indicates how the new filter should be installed. Be careful not to allow any debris to fall into the blower motor.
- Clean the Housing: Use a vacuum cleaner or a damp cloth to eliminate any accumulated dust, leaves, or debris from the filter compartment before placing the new filter.
- Install the New Filter: Ensure that the new cabin air filter matches the old one. Slide it into the housing, making sure the airflow arrow points in the correct direction (typically towards the vehicle’s interior) and fits flush without bending.
- Reassemble: Close the filter cover, ensuring all clips or tabs are securely fastened. Reinstall the glove box by reversing the removal steps, securing any screws or reconnecting damper arms.
Can a dirty cabin air filter affect my car’s AC performance?
Indeed, a dirty or clogged cabin air filter can have a considerable negative impact on your car’s air conditioning (AC) performance. Since the filter’s primary role is to guarantee the clean air flowing into the HVAC system, a saturated filter restricts airflow. This forces the AC system to work harder, diminishing cooling efficiency, extending the time needed to cool the cabin, and potentially leading to premature wear of HVAC components.
What type of cabin air filter should I buy for my vehicle?
The type of cabin air filter you should purchase varies with your driving conditions and desired level of filtration. Common options include particulate filters, efficient at trapping dust, pollen, and allergens. For enhanced odor elimination and filtration of exhaust fumes and harmful gases, consider activated carbon filters (also known as charcoal filters), which feature activated charcoal that neutralizes odors and gases. Advanced filters offering HEPA-rated filtration remove 99.97% of particles as small as 0.3 microns, making them ideal for severe allergy sufferers. Always confirm that the filter is suitable for your specific vehicle make and model.
Is it difficult to replace a cabin air filter yourself?
Replacing a cabin air filter is a simple, straightforward DIY maintenance task easily manageable by most car owners. Many vehicles provide access to the filter with little to no tools, often conveniently located behind the glove compartment. In most cases, the entire process takes around 15 minutes, making it a practical and cost-effective way to enhance your car’s interior air quality and HVAC efficiency.