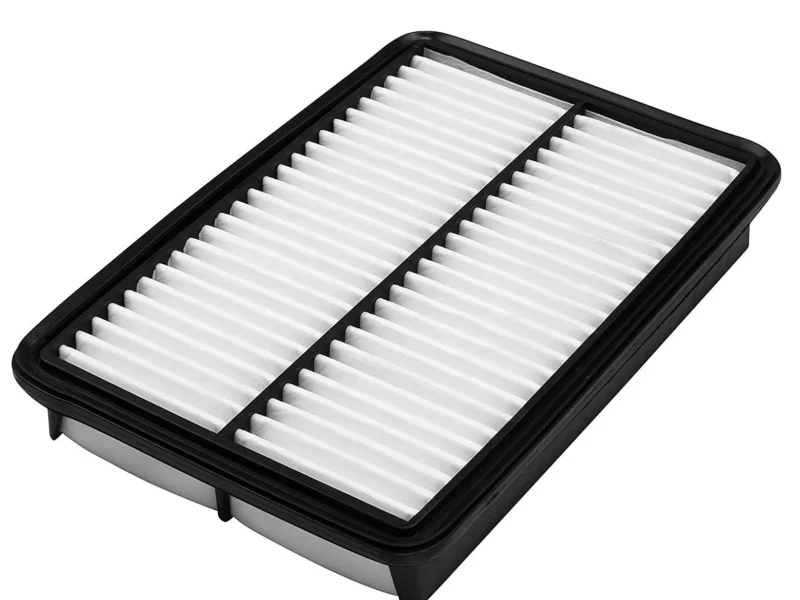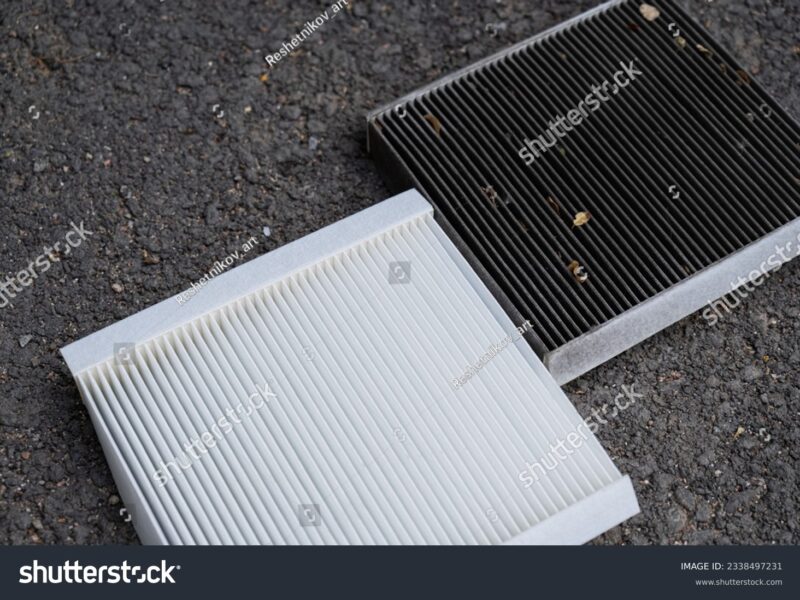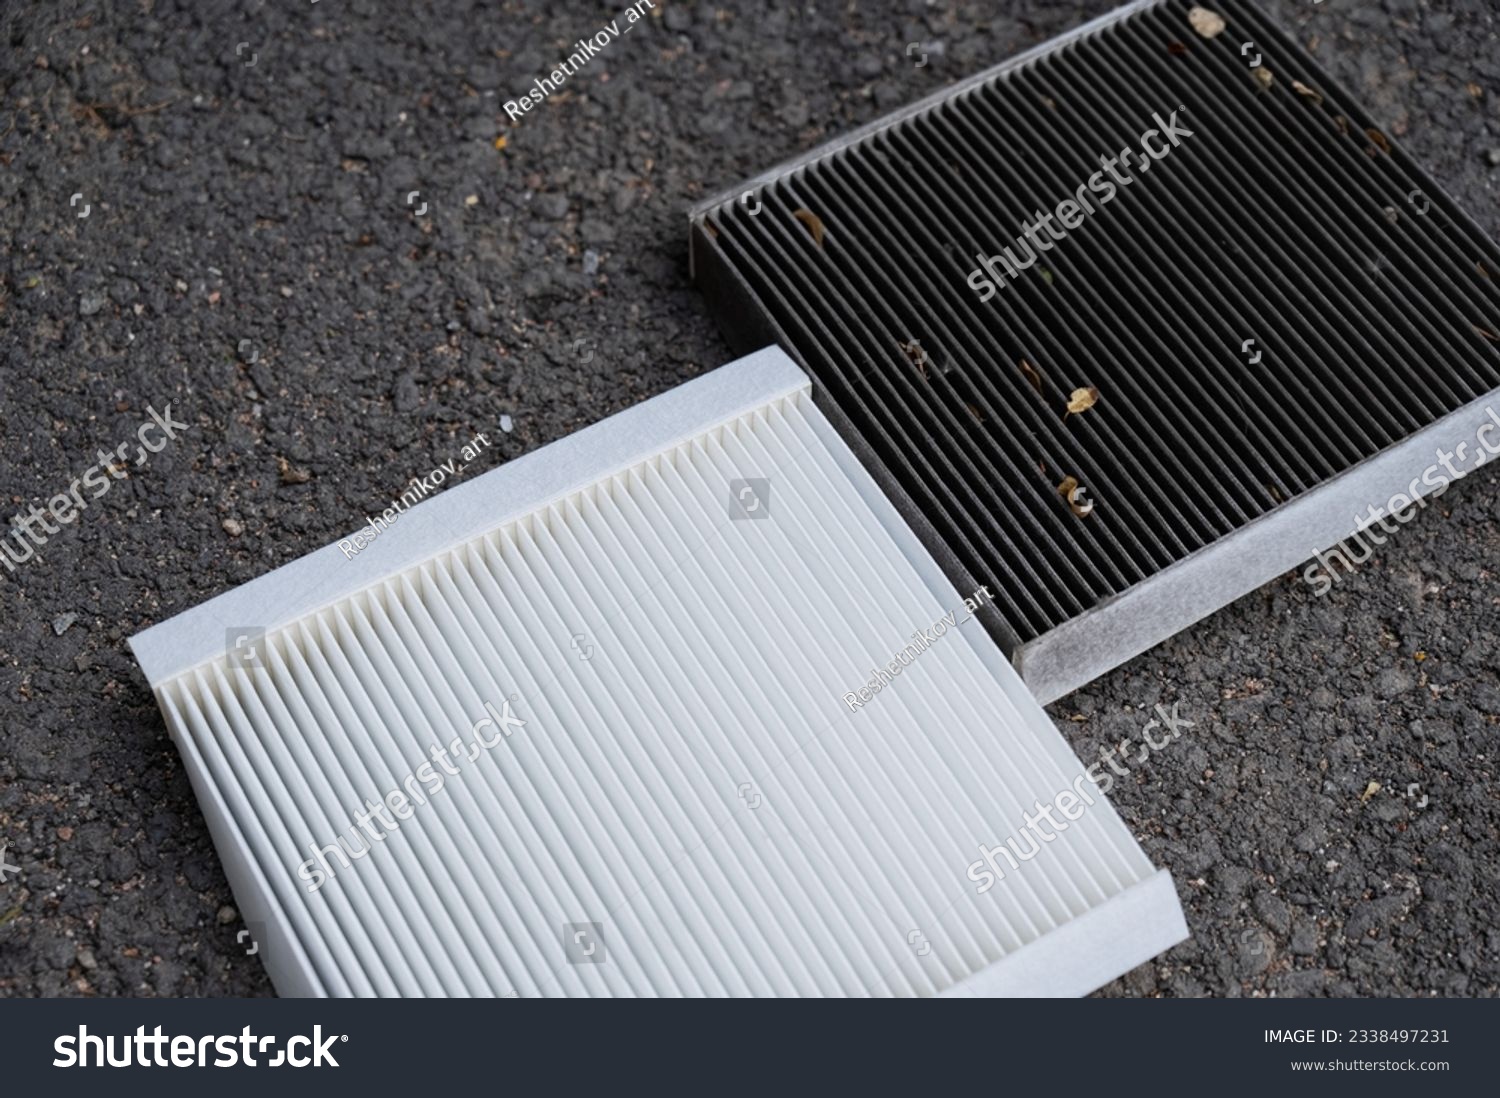
Changing your cabin air filter is a straightforward maintenance task that can significantly improve the air quality inside your vehicle and boost your air conditioning system’s efficiency. Many car owners overlook this component, but a clogged filter can lead to reduced airflow, musty odors, and even respiratory irritations. Fortunately, this is a DIY job that most individuals can complete in about 10 minutes with minimal tools.
A clean cabin air filter is essential for a comfortable and healthy driving experience. It traps pollutants like dust, pollen, smog, and even bacteria before they enter your car’s interior. When this filter becomes saturated, it restricts airflow, forcing your AC system to work harder and potentially reducing its lifespan. This guide will walk you through the process, empowering you to tackle this essential maintenance item yourself.
Why is Replacing Your Cabin Air Filter Important?
The cabin air filter plays a critical role in the overall comfort and health within your vehicle’s cabin. Its primary function is to act as a barrier against airborne contaminants, ensuring that the air you breathe is as clean as possible. Over time, this filter inevitably collects a substantial amount of debris, from fine dust particles to larger allergens like pollen and even road grime.
Neglecting to replace a dirty cabin air filter can lead to several undesirable consequences. One of the most noticeable is a significant reduction in the airflow from your vehicle’s climate control vents. You might find yourself turning up the fan speed more than usual, only to achieve a lukewarm result, indicating a struggling HVAC system. This impaired airflow not only affects comfort but also diminishes the effectiveness of your air conditioning and heating systems. Read about the warning signs of a bad cabin air filter and when to replace it to understand these indicators better.
Beyond reduced performance, a clogged cabin air filter can also compromise the air quality inside your car. Trapped allergens and pollutants can recirculate, potentially exacerbating allergies, asthma, or other respiratory conditions for occupants. Furthermore, moisture can accumulate in a saturated filter, creating a breeding ground for mold and mildew, which then contributes to unpleasant odors within the cabin. A new filter can help alleviate these issues and ensure a fresher environment. As highlighted in “Does a New Cabin Air Filter Improve AC Performance?,” a clean filter directly contributes to better AC efficiency.
The general recommendation for cabin air filter replacement is typically between 15,000 to 30,000 miles, or at least once a year. However, this can vary depending on your driving conditions. If you frequently drive in dusty environments, on unpaved roads, or in areas with high pollution levels, you may need to replace your filter more often. Always consult your vehicle’s owner’s manual for the most accurate replacement schedule specific to your make and model.
Where is Your Cabin Air Filter Located?
Locating the cabin air filter is the first crucial step in the replacement process. For most vehicles, the cabin air filter is strategically positioned behind the glove compartment or under the dashboard on the passenger side. This accessible location is designed to make routine maintenance relatively simple for vehicle owners.
In many popular car models, such as Honda Civics, Toyota Camrys, and Ford F-150s, the filter housing is typically found by removing the glove box. This often involves releasing a few clips or screws that secure the glove compartment in place. Once the glove box is lowered or removed, you will usually see a plastic cover or housing that contains the cabin air filter.
Some vehicles, particularly certain European makes like BMW or Mercedes-Benz, might have their cabin air filters located under the hood, near the windshield wiper assembly, or behind the dashboard on the driver’s side. Regardless of the specific location, there will almost always be an access panel or cover that needs to be opened to reach the filter. Consulting your car’s owner’s manual is the most definitive way to pinpoint the exact location for your specific vehicle. Understanding this will save you time and potential frustration.
Once you’ve identified the general area, look for a rectangular or square-shaped cover, often secured by clips, screws, or tabs. This cover conceals the cabin air filter. The design can vary significantly between manufacturers and models, but the principle of accessing a filter housing remains consistent. Knowing the exact location ensures a smooth and efficient replacement process.
What Tools Do You Need to Change a Cabin Air Filter?
The beauty of changing a cabin air filter yourself lies in its minimal tool requirement. In most cases, you won’t need an extensive toolbox. The most common tools you might encounter are a Phillips head screwdriver or a flathead screwdriver, necessary for removing screws that might secure the glove compartment or the filter housing cover.
Many modern vehicles are designed with tool-less access points for the cabin air filter. This means you might only need your hands to release clips or tabs holding the glove box or the filter cover in place. This design choice by manufacturers significantly simplifies the DIY maintenance process, making it accessible to individuals with no prior mechanical experience.
Occasionally, you might encounter a vehicle that uses different types of fasteners, such as Torx screws. In such instances, a basic set of Torx bits would be beneficial. However, it’s rare for a cabin air filter replacement to require specialized tools beyond common household screwdrivers. Always inspect the fasteners before you begin to ensure you have the correct tools on hand.
Beyond screwdrivers, a flashlight can be incredibly helpful, especially if the filter is located in a dimly lit area under the dashboard. It allows for better visibility of clips, screws, and the filter itself. Having a small container or a magnetic tray to hold removed screws is also a practical tip to prevent them from getting lost. Remember, the goal is efficiency and ease, so preparation with the right (and minimal) tools is key.
Step-by-Step Guide: How to Change Your Cabin Air Filter
Changing your cabin air filter is a surprisingly simple process. This guide breaks it down into manageable steps, ensuring you can accomplish it quickly and correctly. Begin by ensuring you have the correct replacement filter for your vehicle’s make, model, and year. You can usually find this information in your owner’s manual or by using online part finders with your vehicle’s specifications. Remember to also check for any specific tool requirements mentioned earlier.
Step 1: Access the Filter Housing. Most commonly, this involves opening the glove compartment. For many cars, you’ll need to push the sides of the glove box inward to release it from its stops, allowing it to hang down. Some models may require removing a few screws securing the glove box before it can be lowered. Once the glove box is out of the way, you should see the cabin air filter cover, which is usually a plastic housing secured by clips or tabs.
Step 2: Remove the Old Filter. Carefully unclip or detach the cover to expose the old cabin air filter. Note the direction of airflow indicated by arrows on the old filter or the housing. This is crucial for installing the new filter correctly. Slide the old, dirty filter out of its slot. Be prepared for some dust and debris to fall, so having a trash bag or vacuum handy is a good idea. Dispose of the old filter properly.
Step 3: Install the New Filter. Take your new cabin air filter and ensure the airflow direction arrows on it match the direction indicated in the housing or on the old filter. Slide the new filter into the slot, making sure it fits snugly and is seated correctly. Avoid forcing the filter, as this could damage it or the housing. A proper fit ensures optimal filtration and airflow.
Step 4: Reassemble. Once the new filter is in place, reattach the filter housing cover, ensuring all clips or tabs snap securely into position. If you removed screws for the glove compartment, re-secure it now. Close the glove compartment. You’ve successfully changed your cabin air filter! Turn on your car’s fan to test the airflow and ensure everything is working correctly. You should notice an immediate improvement in air volume from the vents.
Cabin Air Filter Replacement Frequency: Key Considerations
Determining the right time to replace your cabin air filter is key to maintaining optimal air quality and HVAC performance. The general recommendation from most manufacturers is to replace the cabin air filter every 15,000 to 30,000 miles or annually, whichever comes first. This guideline serves as a solid starting point for regular vehicle maintenance.
However, these mileage and time intervals are not set in stone and should be adjusted based on your specific driving environment and habits. If you frequently drive in areas with heavy traffic, construction zones, or unpaved roads, your cabin air filter will likely accumulate dirt and debris at a faster rate. In such conditions, it’s advisable to inspect your filter more frequently, perhaps every 10,000 miles, and replace it sooner if it appears visibly dirty.
Similarly, drivers in regions prone to high levels of pollen, dust storms, or wildfire smoke may also need more frequent replacements. These airborne particulates can quickly clog the filter’s media, reducing its effectiveness. Conversely, if you primarily drive in clean, rural environments with minimal air pollution, you might be able to extend the interval slightly beyond the standard recommendation, but annual replacement is still generally advised to prevent the buildup of mold or bacteria.
Ultimately, visual inspection is your best guide. If you notice a decrease in airflow from your AC vents, persistent musty odors, or if your allergies seem to act up more inside your car, these are strong indicators that it’s time for a replacement, regardless of mileage or time elapsed. Understanding the different types of car air filters can also help you choose the right one for your needs, but replacement frequency remains a critical factor for all types.
Cabin Air Filter vs. Engine Air Filter: What’s the Difference?
While both are crucial air filters within your vehicle, the cabin air filter and the engine air filter serve entirely different purposes and are located in distinct areas. The engine air filter’s sole responsibility is to protect your car’s engine from airborne contaminants like dust, dirt, and insects. It ensures that only clean air enters the combustion chamber, which is vital for optimal engine performance and fuel efficiency.
The cabin air filter, on the other hand, focuses on the air circulating inside the vehicle’s passenger compartment. Its job is to remove pollutants from the air that the heating, ventilation, and air conditioning (HVAC) system draws in from the outside before it reaches the occupants. This includes common allergens like pollen and ragweed, as well as smog, soot, and other microscopic particles that can affect the air you breathe.
The location of these filters also differs significantly. The engine air filter is typically found under the hood in a large black plastic or metal box, often connected directly to the engine’s intake system. Accessing and replacing it usually involves undoing clips or screws on this airbox. The cabin air filter, as detailed previously, is generally located inside the vehicle, often behind the glove box or under the dashboard.
Understanding the distinction is important for proper vehicle maintenance. Replacing only the engine air filter won’t improve your cabin’s air quality, and vice versa. Both filters have their recommended replacement schedules, often outlined in your vehicle’s owner’s manual. For instance, engine air filters are typically recommended for replacement every 12,000 to 15,000 miles, while cabin air filters have a slightly longer interval as mentioned before. While both are essential, they address different aspects of your vehicle’s function and your driving comfort. The category of “oil filters” also exists as a distinct part of automotive filtration, focusing on lubricating oil purity, as noted in the “Understanding Different Types of Car Air Filters” article.
Frequently Asked Questions (FAQs)
How often should I replace my cabin air filter?
The general recommendation for replacing your cabin air filter is between 15,000 to 30,000 miles or once a year, whichever comes first. However, this interval can be shorter if you frequently drive in dusty or polluted environments. It’s also advisable to check your vehicle’s owner’s manual for the manufacturer’s specific recommendations, as these can vary by make and model. Pay attention to reduced airflow or unusual odors from your vents, as these are clear signs that the filter needs immediate attention, irrespective of the mileage or time elapsed.
What happens if I don’t replace my cabin air filter?
If you don’t replace your cabin air filter, you can expect a noticeable decrease in airflow from your vehicle’s air conditioning and heating vents. This forces your HVAC system to work harder, potentially leading to reduced efficiency and premature wear. Furthermore, a clogged filter can recirculate allergens, dust, and other pollutants within the cabin, negatively impacting air quality and potentially exacerbating allergies or respiratory issues for occupants. Musty or unpleasant odors can also develop as moisture and debris accumulate in the filter, creating a breeding ground for mold and mildew.
Can I clean my cabin air filter instead of replacing it?
While some people attempt to clean cabin air filters, it is generally not recommended and is often ineffective. Cabin air filters are designed with fine media that captures microscopic particles. Washing or attempting to blow out the debris with compressed air can damage this delicate media, compromising its ability to filter effectively. Moreover, even after cleaning, the filter may still contain residual pollutants or mold spores that can be reintroduced into the cabin. For optimal performance and air quality, replacement with a new filter is always the best course of action.
What tools are absolutely necessary to change a cabin air filter?
For most vehicles, the only tools you will absolutely need are your hands and potentially a Phillips head screwdriver or a flathead screwdriver. Many modern cars are designed for easy access, utilizing clips or tabs that can be operated by hand. Screwdrivers are typically only required if your glove compartment or the filter housing cover is secured with screws. A flashlight can also be very helpful for visibility in tight spaces, but it’s not strictly necessary for the function of the replacement itself. Always check your specific vehicle model, as some might have unique fastening systems.
Can changing the cabin air filter really improve AC performance?
Yes, absolutely. A clean cabin air filter is crucial for optimal AC performance. When the filter is clogged, it restricts the airflow that the AC system relies on to cool or heat the cabin effectively. This means the system has to work much harder to achieve the desired temperature, consuming more energy and potentially leading to reduced cooling or heating capacity. Replacing a dirty filter with a new one allows for unrestricted airflow, enabling your AC system to operate efficiently, maintain consistent temperatures, and cool or heat the cabin much faster, as detailed in articles discussing the link between cabin air filters and AC performance.
| Aspect | Recommendation/Frequency | Impact of Neglect | DIY Difficulty |
|---|---|---|---|
| Mileage Interval | 15,000 – 30,000 miles | Reduced airflow, poor AC performance, decreased air quality | Easy (Approx. 10 minutes) |
| Time Interval | Annually | Mold/mildew growth, stale odors, potential respiratory issues | Easy (Approx. 10 minutes) |
| Environmental Factors | More frequent replacement in dusty/polluted areas | Faster filter saturation, reduced effectiveness | Easy (Approx. 10 minutes) |
| Tools Required | Screwdriver (Phillips/Flathead), Hands, Flashlight (optional) | N/A | Easy (Approx. 10 minutes) |