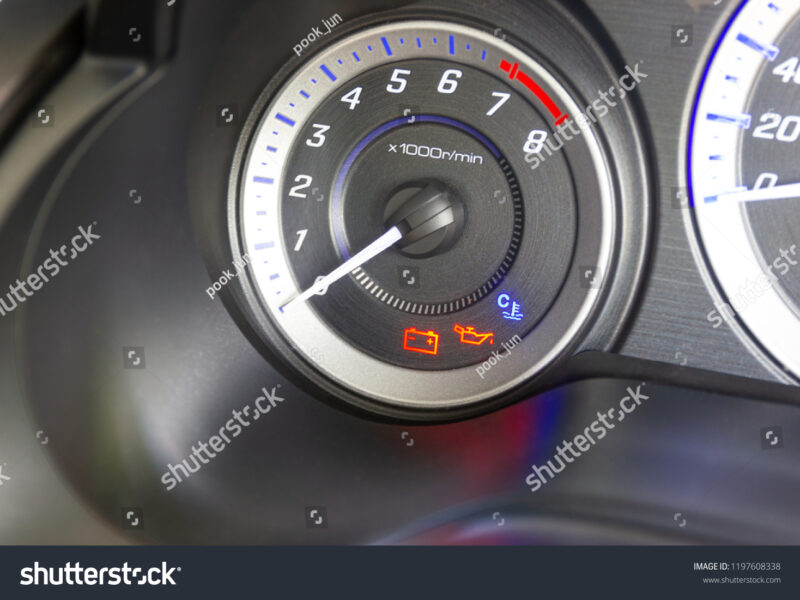
Jump-starting a dead car battery is an invaluable skill, enabling drivers to restore their vehicle’s operational status quickly. Understanding how to jump-start a battery correctly is essential, as it can prevent damage to both the vehicles involved and personal injury. Common reasons for a battery failure include leaving lights on, extreme temperatures, or age, making it critical for drivers to be well-informed on this procedure.
What Equipment is Necessary for a Safe Jump Start?
Successfully and safely jump-starting a vehicle requires specific equipment to facilitate the transfer of electrical energy. Essential tools include adequate jumper cables, a reliable power source, and essential personal protective equipment. Jumpers should be heavy-gauge (typically 6 to 8 AWG for best performance) and have well-insulated clamps to ensure safe connections. A secondary vehicle with a fully charged battery or a compact, portable jump starter (typically rated at 400-800 amps) serves as the power source. Additionally, using insulated gloves and goggles will protect you from potential hazards such as sparks or battery acid splashes.
| Equipment Type | Advantages | Considerations |
|---|---|---|
| Standard Jumper Cables (with Donor Vehicle) | Cost-effective, readily available, utilizes existing vehicle battery. | Requires a second working vehicle, potential for incorrect connection, risk of electrical surges to donor vehicle if not done properly. |
| Portable Jump Starter | Self-contained unit, no second vehicle needed, often includes safety features, compact. | Requires pre-charging, higher initial cost, capacity varies by model. |
What Preliminary Safety Measures Are Required Before Jump-Starting?
Before initiating a jump-start, several strict safety measures must be followed to prevent accidents and equipment damage. Park both vehicles in neutral or park, and ensure they are not touching. Engage the parking brakes and turn off engines and all electrical accessories, including lights, radio, and air conditioning. Inspect both batteries for any signs of damage, like cracks, leaks, or excessive corrosion. If either battery shows visual damage, do not jump-start; risks of explosions are present. Additionally, remove metal jewelry, such as rings, that may inadvertently cause electrical arcing. Refer to the vehicle’s owner manual for specific instructions, especially for modern or hybrid vehicles.
How Do You Connect Jumper Cables to Safely Jump-Start a Car?
Connecting jumper cables requires precision to ensure safety and effectiveness. The standard procedure involves the following sequence for positive (+) and negative (-) terminal connections:
- Attach one red (positive) clamp to the positive terminal of the dead battery.
- Connect the other red (positive) clamp to the positive terminal of the donor vehicle’s battery.
- Next, attach one black (negative) clamp to the negative terminal of the donor vehicle’s battery.
- Finally, connect the remaining black (negative) clamp to an unpainted metallic section of the engine block or chassis of the vehicle with the dead battery, avoiding the battery terminal. This grounding point helps to minimize the risk of sparks igniting hydrogen gas emitted by the battery.
Ensure all clamps are attached securely, with cables positioned away from moving engine parts to prevent accidents.
What is the Correct Procedure for Starting and Disconnecting After a Jump Start?
After the jumper cables are secured, proceed carefully with the starting and disconnection process. Turn on the engine of the donor vehicle, allowing it to charge the dead battery for several minutes (ideally 1 to 5 minutes). Next, try starting the vehicle with the dead battery. If it starts, let both vehicles idle for an additional 5-15 minutes to allow the alternator to recharge the dead battery adequately. To prevent voltage spikes, you may turn on the headlights of the vehicle with the jump-started battery before disconnecting the cables. When disconnecting, follow the reverse order of connection:
- Remove the black clamp from the grounded metal surface of the now-running vehicle.
- Detach the black clamp from the donor battery’s negative terminal.
- Remove the red clamp from the donor battery’s positive terminal.
- Finally, disconnect the red clamp from the jump-started vehicle’s positive terminal.
After disconnecting, drive the jump-started vehicle for at least 15-20 minutes to allow the car’s alternator to fully recharge the battery. Ideally, a fully charged car battery should maintain a resting voltage between 12.6 and 12.8 volts to ensure optimal performance.
When Should You Avoid Jump-Starting a Car Battery?
Some conditions warrant the avoidance of jump-starting, as proceeding under such circumstances can lead to further damage or safety issues. Never attempt to jump-start a battery that displays visible damage, is cracked, leaking fluid, or frozen. These conditions suggest the battery is compromised, posing explosion risks when electrical current is applied. Ensure both batteries match in voltage—typically 12 volts—since jump-starting batteries with differing voltages (e.g., 6-volt with 12-volt) can damage sensitive electrical systems. It is also advised against using hybrid or electric vehicles as power donors due to their complex electrical architectures that may be vulnerable to voltage fluctuations during a jump-start. If the vehicle fails to start after multiple attempts or shows unusual noises or smoke, cease the procedure and seek professional diagnosis.
How long does a car need to run after a jump start?
After a successful jump start, the vehicle should run for a minimum of 15-20 minutes to allow the alternator to adequately recharge the battery. Longer drives are often encouraged for a more complete charge.
Can jump-starting damage my car’s electronics?
Improper jump-starting, such as incorrect cable connection order or reversed polarity, can indeed damage sensitive electronic systems in vehicles, including airbags and Bluetooth systems. Adhering to the proper step-by-step procedure markedly reduces this risk.
What if my car still won’t start after a jump?
If the vehicle does not start after following the correct jump-starting protocol, it may indicate a more serious issue than a simple discharged battery. Possible underlying problems include a faulty starter motor, a failing alternator, or a severely degraded battery that no longer holds a charge. In such cases, professional automotive assistance is strongly recommended for accurate diagnosis and repair.
Additional Tips
After successfully jump-starting your battery, regularly check its condition. Consider a comprehensive check-up of the battery and electrical system periodically to proactively address potential issues. Furthermore, purchasing a multimeter for battery voltage testing can aid in maintaining battery health.
Alternative Methods for Starting Dead Batteries
If jump-starting is not feasible, alternative options include using a battery charger that can rejuvenate a dead battery over a period or scouting for roadside assistance services. Each of these alternatives has its distinct advantages and applications.
Preventing Future Battery Discharges
To minimize future battery discharges, regularly check the vehicle’s charging system, specifically the alternator’s functionality. Consider performing routine battery maintenance, such as cleaning corroded terminals and scheduling periodic voltage checks.
Conclusion
Understanding how to jump-start a car battery is crucial for any driver. Whether facing a dead battery situation at home or on the road, being prepared with the right knowledge and equipment provides peace of mind. Ensure you have jumper cables or a portable jump starter readily available and consider regular battery checks to maintain vehicle reliability.