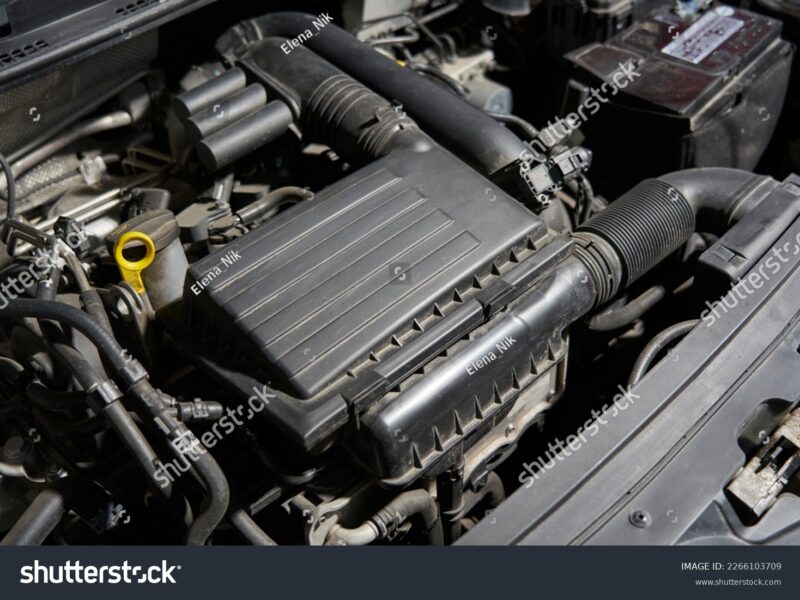
Imagine your engine as a set of lungs, tirelessly drawing in air to optimize your vehicle’s performance. Just as clean air is essential for healthy lungs, a pristine engine air filter is vital for achieving peak engine efficiency, superior fuel economy, and extending the lifespan of critical components.
A clean engine air filter functions like an unobstructed airway, allowing your engine to breathe freely. This ensures the precise air-fuel mixture necessary for effective combustion. Conversely, a dirty or clogged air filter restricts airflow, forcing your engine to exert significantly more effort—akin to trying to run a marathon while holding your breath. This strain results in reduced engine performance, slower acceleration, and a frustrating decline in fuel economy. In fact, studies reveal that simply replacing a dirty air filter can enhance gas mileage by as much as 10%.
Beyond performance and efficiency, a clogged air filter impacts your vehicle in more ways than one. An unbalanced air-fuel mixture can lead to increased emissions, rough idling, and potential engine misfires, putting your spark plugs at risk. In severe cases, dirt and abrasive debris may bypass a damaged or severely clogged filter, infiltrating the engine and causing significant wear on essential components like pistons and cylinders. The consequences could culminate in costly repairs and drastically shorten your engine’s lifespan.
Essential Materials for K&N Filter Maintenance
To ensure your K&N filter maintains optimal performance and longevity, specialized products are crucial. A robust K&N filter maintenance routine requires specific cleaning agents and tools. At the heart of your toolkit should be a K&N air filter cleaning kit, which typically includes K&N Power Kleen air filter cleaner and K&N air filter oil. Additionally, access to water—ideally a low-pressure hose—and protective gear, such as gloves and eye protection, is vital for a safe and thorough cleaning process.
K&N’s specialized cleaner is formulated to dissolve accumulated dirt, road grime, and old filter oil without damaging the delicate cotton media. After cleaning, the K&N filter oil plays a crucial role in restoring the filter’s ability to trap microscopic contaminants, ensuring optimal filtration.
| Component | Function | Notes |
|---|---|---|
| K&N Power Kleen | Dissolves dirt and old oil | Biodegradable formula |
| K&N Air Filter Oil | Restores filtration efficiency | Available in various applicators (aerosol, squeeze bottle) |
| Water Source | Rinses off excess cleaner and debris | Low pressure recommended |
| Soft Brush (Optional) | Gentle removal of stubborn debris | Avoid stiff brushes |
| Personal Protective Equipment | Safety during cleaning process | Gloves, eye protection |
How Often Should You Clean Your K&N Air Filter?
Understanding when to clean your K&N air filter is essential for maintaining your vehicle’s health. Under normal driving conditions, it’s typically recommended to clean your K&N air filter every 30,000 to 50,000 miles, or at least once a year. However, this interval can fluctuate based on environmental factors and your driving habits. For instance, vehicles frequently driven in dusty areas, such as unpaved roads or arid environments, will require more frequent maintenance to prevent excessive contaminant buildup, ensuring proper engine airflow.
Regular visual inspections of the filter media serve as your best guide. If the filter appears visibly dirty or obstructed—indicated by the aluminum mesh no longer being visible beneath the dirt—it’s time for immediate cleaning. Monitor your filter’s condition; delaying maintenance until it’s heavily clogged can compromise performance.
Step-by-Step Guide: Cleaning Your K&N Air Filter
Restoring your K&N air filter to peak condition involves several precise steps aimed at effectively eliminating contaminants and re-oiling the filter. Adhering to these instructions ensures thorough cleaning and optimal filtration for your engine.
- Remove the Air Filter: Carefully detach your K&N air filter from your vehicle’s air intake system. Ensure the engine is cool before handling components. Gently shake off any loose dust and dirt.
- Apply K&N Power Kleen: Liberally spray K&N Power Kleen air filter cleaner on both sides of the filter, saturating the pleats completely. Allow the solution to soak for about 10 to 15 minutes to penetrate and loosen accumulated dirt and debris. Crucially, avoid letting the cleaner dry on the filter.
- Rinse the Filter: Utilizing a low-pressure water source (like a garden hose), rinse the filter from the clean side (interior) outward. This technique flushes the dirty solution and contaminants away from the filter media, preventing them from pushing deeper inside. Continue rinsing until the water runs clear. For heavily soiled filters, you may need to repeat the cleaning and rinsing process.
- Dry the Filter: Gently shake off excess water and allow the filter to air dry completely and naturally. This process may take several hours, depending on temperature and humidity. Avoid using compressed air, heat guns, or direct sunlight, as these methods can permanently damage the delicate cotton gauze media.
- Apply K&N Air Filter Oil: Once the filter is thoroughly dry, apply a uniform layer of K&N air filter oil along the top of each pleat. The oil will naturally spread. Apply enough oil to ensure the entire cotton medium adopts the characteristic red color (or the specific color of the K&N oil used). Exercise caution to avoid over-oiling, which can negatively affect filtration efficiency and damage sensitive engine sensors.
- Reinstall the Filter: With the filter appropriately oiled and completely dry, carefully reinstall it into your vehicle’s air intake system, ensuring all connections are secure.
Common Mistakes to Avoid When Servicing Your K&N Filter
Improper servicing of your K&N filter can jeopardize both its performance and your engine’s health. Here are common pitfalls to avoid to save yourself time, money, and potential headaches:
- Over-oiling the Filter: This frequent mistake can lead to excess oil coating the mass airflow (MAF) sensor, resulting in false readings, reduced performance, decreased fuel economy, or triggering your “Check Engine” light.
- Using Non-K&N Cleaning Solutions or Oils: Only use K&N-specific cleaning solutions and oils. Generic soaps or harsh chemicals might degrade the cotton media, reducing its trapping capabilities.
- Using Compressed Air or Heat to Dry: Never use compressed air, heat guns, or direct heat for drying the filter. These methods can damage the delicate cotton fibers, compromising filtration capabilities.
- Incomplete Drying: Reinstalling or re-oiling a damp filter inhibits proper oil absorption, leaving unprotected areas vulnerable to contaminants.
- Rinsing from the Dirty Side: Always rinse from the clean side outward to avoid pushing contaminants deeper into the filter media.
K&N Air Filter Cleaning: Your Top Questions Answered
Many users have common questions regarding the procedures and implications of cleaning their K&N air filters. Addressing these FAQs will help ensure the cleaning process is conducted correctly and effectively.
Can I use regular soap to clean my K&N filter? No, using regular soap, detergents, or harsh chemicals is strongly discouraged for cleaning K&N air filters. These can damage the cotton gauze media and hinder the specialized K&N oil’s adherence, compromising filtration effectiveness. Always utilize K&N Power Kleen or a specifically formulated K&N cleaning solution.
How long does a K&N air filter take to dry? A K&N air filter typically requires 20 minutes to several hours to air dry completely, depending on humidity and airflow conditions. It’s crucial to allow the filter to dry naturally before applying oil to ensure proper absorption and to prevent moisture from entering the engine. Using heat sources can damage the filter media.
What happens if I over-oil my K&N filter? Over-oiling a K&N air filter can lead to the engine drawing excess oil from the filter, potentially contaminating the MAF sensor. This contamination may result in inaccurate sensor readings, leading to a lean air-fuel mixture, unstable idling, and could even activate the “Check Engine” light on your dashboard. It is vital to apply K&N filter oil sparingly and evenly.