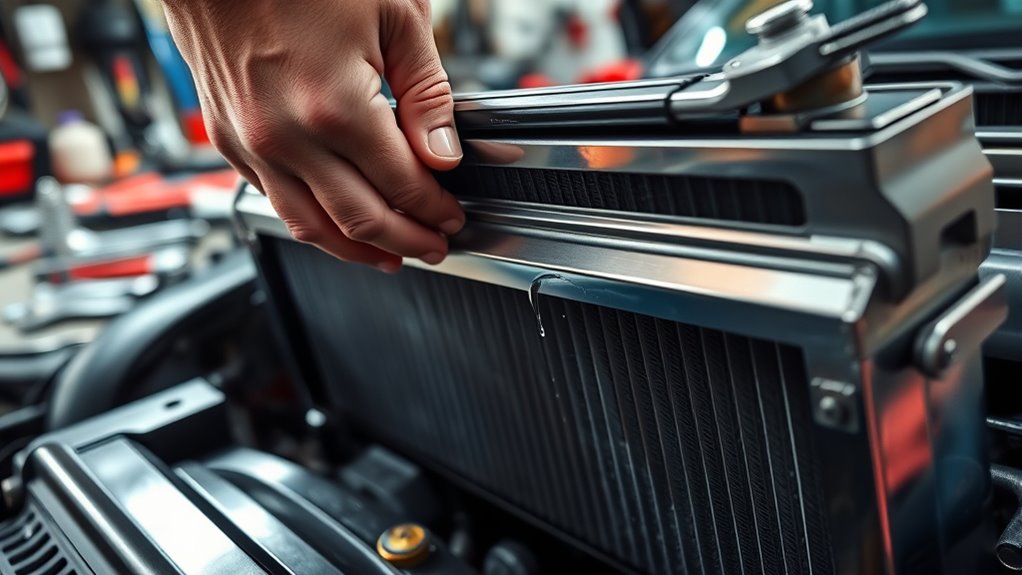
A car radiator leak poses a significant threat to your vehicle’s health. Ignoring it can lead to engine overheating, which may result in costly repairs. In this guide, we will empower you to recognize, locate, and address radiator leaks before they escalate into serious problems. Your car’s longevity depends on your awareness and swift action.
Understanding how to diagnose a car radiator leak is crucial. Key symptoms such as visible coolant accumulation and changing engine behavior are your vehicles’ cries for help. By grasping these indicators, you’ll embark on the path to a successful repair and improved vehicle reliability.
What Are the Common Signs of a Radiator Leak?
Recognizing the early indicators of a radiator leak can prevent expensive engine damage. Look out for these common symptoms:
- Coolant Puddles: The most apparent sign—brightly colored puddles (green, orange, or pink) beneath your parked car, typically near the front.
- Engine Overheating: If the temperature gauge rapidly climbs into the red zone, this indicates that the engine is running too hot, often due to insufficient coolant.
- Low Coolant Levels: Repeatedly needing to refill your coolant reservoir suggests an existing leak in the system.
- Sweet or Syrupy Smell: The distinct sweet aroma of leaking coolant can be particularly noticeable inside the cabin if the heater core is affected.
- White Smoke from Exhaust: This can indicate an internal leak, where coolant enters the combustion chamber due to a blown head gasket.
- Corrosion or Rust on Radiator: Visible reddish-brown patches on the radiator or discolored coolant suggest internal corrosion leading to leaks.
- Hissing or Gurgling Sounds: Sounds of air or fluid escaping may signal potential leaks in the cooling system.
How Can You Visually Inspect Your Radiator for Leaks?
Conducting a thorough visual inspection is your first step in identifying a leak. Always ensure your engine is cool before beginning to avoid burns from hot coolant or steam.
- Park and Cool Down: Set your car on a dry, level surface and allow the engine to cool completely.
- Check for Puddles: Look for colored fluid puddles directly beneath your vehicle, noting their proximity to the radiator.
- Inspect Radiator Exterior: Examine the radiator’s fins and tanks for visible cracks, dents, or residue from dried coolant, paying close attention to seams and joints.
- Examine Hoses and Connections: Inspect the upper and lower radiator hoses, and smaller heater hoses for cracks or bulges, while checking the clamps for tightness.
- Inspect Radiator Cap: A faulty radiator cap can lead to leaks. Look for wear, damage, or coolant residue around it.
- Check Under the Hood: Look for coolant splatter or residue on surrounding components, and wash down the radiator and hoses with water. Restart the engine to check for fresh leaks.
What Tools Are Needed for a Pressure Test?
If visual inspection doesn’t reveal the leak, a cooling system pressure test can pinpoint its exact source:
- Radiator pressure testing kit (includes a hand pump and various adapters).
- Clean rags or paper towels.
- A flashlight for better visibility.
- Safety glasses.
How Do You Perform a Radiator Pressure Test?
Executing a pressure test helps uncover leaks not visible under normal conditions. Always ensure the engine is cool before starting this process.
- Ensure Engine is Cool: Never open a hot cooling system to avoid burns.
- Locate and Remove Radiator Cap: Carefully take off the radiator cap.
- Attach Pressure Tester: Select the right adapter from your kit, attach it to the radiator filler neck, and replace the cap. Connect the hand pump to the adapter.
- Pump and Monitor Pressure: Pump the tool to pressurize the system to the manufacturer’s recommended level (typically between 13-16 PSI). Avoid exceeding this pressure.
- Inspect for Leaks: Examine all components—radiator, hoses, & connections for any signs of dripping coolant or hissing sounds.
- Monitor Gauge: Leave the system pressurized for 20-30 minutes. A drop in the pressure gauge indicates a leak.
- Release Pressure: Once finished, carefully release the pressure using the relief valve before removing the adapter.
What Should You Do if You Don’t Have a Pressure Tester?
If you lack a pressure tester, there are still ways to diagnose leaks:
- UV Dye Test: Introduce a fluorescent dye to your coolant, run the engine, and use a UV light to locate glowing leaks.
- Cardboard Test: Place clean cardboard or newspaper beneath your vehicle overnight to identify the location and color of any drips.
- Warm-Up and Watch: After topping up the coolant, start the car and let it warm up while you observe closely for steam or leaks from components.
What Are the Most Common Causes of Radiator Leaks?
Radiator leaks stem from various factors, often due to age and exposure to harsh conditions:
- Corrosion and Rust: Over time, metal components corrode from coolant exposure, resulting in holes or cracks.
- Worn-Out Hoses and Clamps: Heat and pressure cause hoses to degrade leading to brittleness and leaks.
- Physical Damage from Debris: Rocks or debris can puncture the radiator fins or tubes.
- Loose Connections or Faulty Radiator Cap: These issues can prevent the cooling system from maintaining pressure, causing coolant to escape.
- Age and Wear: Old radiators with plastic end tanks and rubber seals can deteriorate and crack.
- Internal Blockages (Sludge): Mineral deposits or sludge buildup restrict coolant flow, increasing internal pressure and causing leaks.
- Manufacturing Defects: Rarely, factory faults can lead to premature leaks.
What Are the Temporary Fixes for a Radiator Leak?
Temporary fixes might get you to a repair shop, but they’re not long-term solutions. Always seek professional help or replacement when possible.
- Radiator Stop Leak Products: These additives seal small leaks but can clog cooling system components if overused.
- Epoxy or JB-Weld: Use these for visible radiator cracks after cleaning and roughening the surface.
- Duct Tape and Foil: For a cracked hose, wrap it tightly with aluminum foil and multiple layers of duct tape for a temporary fix.
How Much Does it Cost to Fix a Car Radiator Leak?
The cost of repairing a radiator leak can vary significantly based on location, severity, and whether you choose DIY or professional repairs.
| Repair Type | DIY Cost (Parts Only) | Professional Repair Cost (Parts & Labor) |
|---|---|---|
| Minor Hose Replacement | $20 – $70 (hose & clamps) | $100 – $440 (including labor) |
| Radiator Cap Replacement | $10 – $30 | $50 – $100 (often part of diagnostic) |
| Small Radiator Leak (Stop Leak) | $10 – $50 (product cost) | Not recommended as a professional primary fix |
| Radiator Repair (minor cracks/pinholes) | $50 – $100 (epoxy/sealant) | $250 – $750 (brazing, localized repair) |
| Radiator Replacement (part only) | $100 – $1000+ (depending on vehicle/quality) | $700 – $1,826 (average) |
Labor costs typically range from $75-$150 per hour. Various factors such as year, make, and model significantly affect your total repair costs. Luxury or larger vehicles often demand a higher budget.
When Should You Replace Your Car Radiator?
While minor leaks can be repaired, several indicators suggest that a full radiator replacement is the best option:
- Extensive Corrosion or Rust: A heavily rusted radiator compromises efficiency and can result in new leaks.
- Multiple Leaks or Large Cracks: Numerous leaks or significant cracks indicate severe damage beyond simple repair.
- Cracked Plastic End Tanks: Plastic parts can be difficult to repair permanently.
- Internal Blockages: A clogged radiator restricting coolant flow will lead to overheating.
- Old Age: Aging radiators are often more reliable as they deteriorate.
- Repeated Repairs: Frequent repairs on the same radiator often indicate it’s time for a replacement.
- Engine Overheating Persists: Continued overheating issues suggest insufficient cooling capacity of the radiator.
To prolong radiator life, regular maintenance, such as coolant flushes every two years or 30,000 miles, is advisable. Ensuring all components in good working order also benefits your vehicle’s overall health. For more insights, check our guide on Choosing the Right Car Battery Size and our article on Failing Brake Master Cylinder Signs to recognize other critical automotive warning signals.
Frequently Asked Questions (FAQ)
- Can I drive with a small radiator leak?
- Driving with a minor radiator leak is not advisable, as it can lead to significant coolant loss and potentially cause severe engine overheating and damage.
- How often should I check my radiator fluid?
- It’s recommended to check your coolant level at least twice a year, ensuring you do so when the engine is cool.
- Is radiator stop leak effective?
- While radiator stop leak products can provide a temporary solution for small leaks, they are not a permanent fix and may cause issues if overapplied.
- What type of coolant should I use?
- Always consult your owner’s manual for the specific type and color of coolant suitable for your vehicle, as using the wrong type can lead to corrosion and system problems.