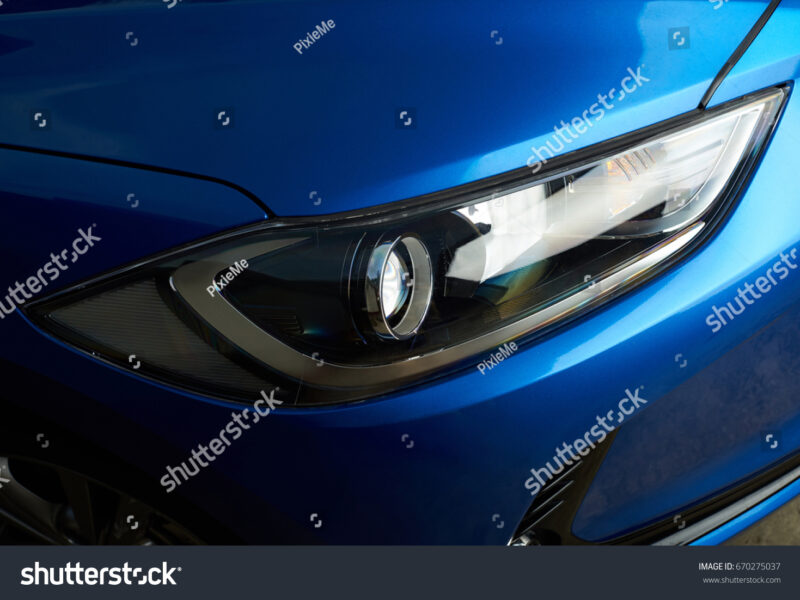
Replacing a car headlight bulb isn’t just a maintenance task; it’s essential for ensuring your vehicle provides optimal visibility and safety on the road. This straightforward do-it-yourself (DIY) task involves swapping out a faulty bulb for a new one, keeping your vehicle compliant with traffic laws and enhancing your overall driving experience.
What Safety Precautions Are Essential Before Replacing a Car Headlight Bulb?
Before you begin the headlight bulb replacement process, it’s crucial to prioritize safety. Start by ensuring your vehicle is parked on a flat surface, the engine is completely off, and you’ve removed the ignition keys to prevent any accidental start-ups. Disconnecting the car’s battery, specifically the negative (black) cable, significantly reduces electrical hazards during your work. This measure safeguards you against potential electrocution and protects your vehicle’s electrical system from damage. Always allow the existing headlight bulbs to cool down before handling, as they can become extremely hot. Wearing safety gloves and eye protection is recommended, as this will shield you from cuts, bulb breakage, and skin oils that can harm halogen bulbs.
What Tools and Materials Are Required for DIY Headlight Bulb Replacement?
Successful headlight bulb replacement hinges on having the right tools and materials at hand. Your primary requirement is a new headlight bulb that matches your vehicle’s specifications. Additional tools you’ll likely need include a screwdriver—either flathead or Phillips depending on your fasteners—a ratchet set, and perhaps needle-nose pliers or a plastic clip removal tool to access the headlight assembly. Always work with clean cloths or lint-free gloves to ensure you don’t transfer oils onto the new bulb, which could lead to premature failure. In some intricate designs, a mini bulb removal tool might come in handy.
Table: Common Headlight Bulb Types and Characteristics
| Bulb Type | Technology | Typical Lifespan (Hours) | Brightness/Color | Energy Consumption | Installation Difficulty |
|---|---|---|---|---|---|
| Halogen | Tungsten filament in halogen gas | 500-2,000 | Warm, yellowish light | Higher | Easiest |
| HID (Xenon) | Xenon gas ignited by electrical arc | 2,000-10,000 | Very bright, white light | Medium | More complex (often requires ballast) |
| LED (Light Emitting Diode) | Semiconductor diodes produce light | 25,000-30,000+ | Bright, crisp white light | Lowest | Can be complex (compatibility/heat management) |
How Do I Identify the Correct Replacement Headlight Bulb for My Vehicle?
Correctly identifying the replacement headlight bulb for your vehicle is essential for ensuring an accurate fit and functionality. The most reliable source is your vehicle’s owner’s manual, which details the specific bulb type and part number for low beams, high beams, and fog lights. Alternatively, the bulb number is sometimes stamped or printed on the base of the old bulb. Auto parts stores can assist as well, using your car’s year, make, and model to find the correct bulb. Always ensure that your chosen bulb matches the original specifications to avoid compatibility issues that could impair light focus or damage the headlight housing.
What are the Step-by-Step Instructions for Safely Replacing a Car Headlight Bulb?
To successfully replace a car headlight bulb, you’ll need to follow a series of well-defined steps, each requiring your careful attention.
How to Access the Headlight Assembly?
Your first step in the headlight bulb replacement process is to access the headlight assembly. For many vehicles, this means opening the hood and locating the rear of the headlight unit. Depending on the vehicle design, accessing the bulb may require removing a dust cover, a plastic wheel well liner, or even disassembling parts such as the air filter housing or battery. In some cases, you might need to unbolt and shift the entire headlight assembly or remove it altogether for easier access to the bulb. Always consult your owner’s manual for model-specific instructions, ensuring you navigate without damaging any surrounding components.
How to Remove the Old Headlight Bulb?
The next task is to remove the old headlight bulb, starting with the electrical connector. You’ll typically need to press a release tab or clip before gently pulling the connector away from the bulb. The bulb itself is held in place by various mechanisms such as wire clips, twist-lock retainers, or screws. Carefully disengage these components or twist the bulb counterclockwise to free it from its socket, ensuring you handle the old bulb by its base to avoid contact with the glass.
How to Install the New Headlight Bulb?
Installing the new headlight bulb demands precision for correct functionality and longevity. Always grasp the new bulb by its base, never touching the glass itself, as the oils from your fingers can create weak spots that lead to early failure. Align the new bulb with the socket and gently insert it, ensuring that it fits snugly. Twist the bulb clockwise or re-engage any retaining clips until it’s securely locked in place, then reconnect the electrical connector, ensuring it snaps firmly into position.
How to Test the New Headlight Bulb and Reassemble?
After you’ve installed the new headlight bulb, it’s crucial to test its functionality before reassembling the headlight unit or reinstalling any other components. Activate your vehicle’s accessories or ignition to turn on the headlights, confirming that the new bulb illuminates properly. If applicable, check both low and high beams to ensure full functioning. Once verified, replace any covers, liners, or components you previously removed, securing them with their original fasteners. This step is vital for protecting against moisture and dust infiltration.
What Common Mistakes Should Be Avoided During Headlight Bulb Replacement?
To ensure a smooth headlight bulb replacement, it’s essential to avoid common pitfalls. A frequent mistake is touching the glass of a new halogen bulb, which can lead to uneven heating and early failure. Using the incorrect bulb size or type can result in improper fitting, light misalignment, or damage to the housing. Neglecting to disconnect the battery before working on electrical components poses a significant safety risk. Additionally, improperly securing the bulb can lead to flickering or premature burnout. Neglecting to examine the headlight housing for cracks or moisture can jeopardize the bulb’s lifespan. Finally, remember to align the headlight beam post-replacement, as failing to do so may compromise visibility or blind oncoming drivers.
Frequently Asked Questions about Car Headlight Bulb Replacement
How long does a car headlight bulb replacement typically take?
The duration for replacing a car headlight bulb varies based on vehicle model and your experience level. Generally, it takes anywhere from 15 to 30 minutes for a single bulb. Some cars offer easier access, while others may require additional components to be removed, extending the time needed.
Is it necessary to replace both headlight bulbs at the same time?
Though it’s not mandatory to replace both bulbs simultaneously if one functions, it’s typically advisable. Headlight bulbs tend to have similar lifespans; thus, if one has burned out, the other is likely to follow soon. Replacing them in pairs ensures matched light output, maintaining consistent visibility and safety.
When should I consider upgrading to LED headlights instead of replacing with standard bulbs?
Consider upgrading to LED headlights when looking for higher brightness, improved energy efficiency, and a significantly longer lifespan compared to conventional halogen bulbs. While the initial cost might be greater, LED bulbs can last up to 30,000 hours, reducing the frequency of replacements. Ensure your vehicle’s electrical system and housing is compatible with the new bulbs, as some LED conversions could necessitate additional components or professional installation to avoid issues like flickering or incorrect beam patterns.