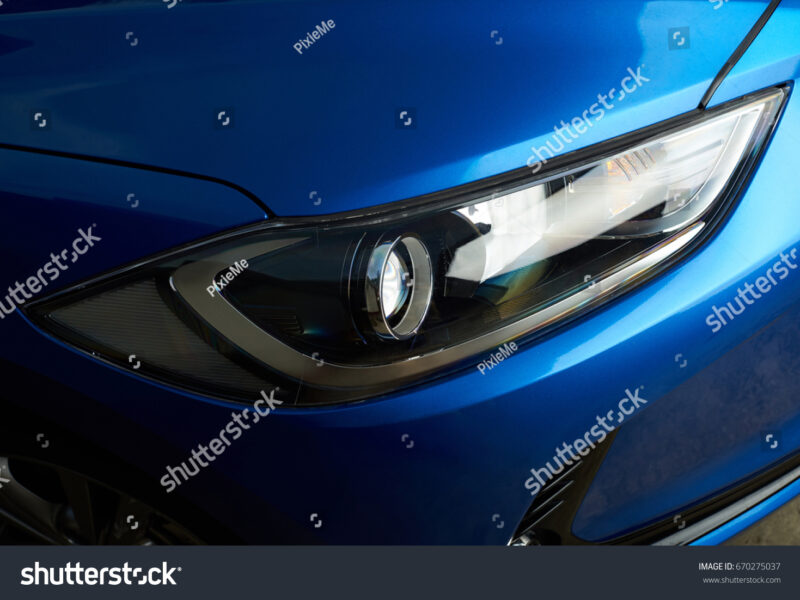
To restore cloudy headlights, follow a structured DIY approach that significantly enhances visibility and aesthetic appeal, potentially reinstating up to 80% of the original light output.
What Causes Cloudiness in Headlights?
Cloudy headlights are often a result of prolonged exposure to UV rays, road debris, and harsh environmental conditions. The outer layer of polycarbonate plastic used in modern headlights becomes oxidized over time, leading to a dull and cloudy appearance. This degradation not only affects the visual appeal of your vehicle but also compromises safety by reducing light output at night or in adverse weather conditions.
The cloudiness is primarily characterized by a yellowing effect, which occurs as the polycarbonate plastic absorbs moisture and becomes discolored. Additionally, contaminants such as dirt and grime can accumulate, further obscuring the light emitted from the headlights. Understanding these causes is critical for selecting the appropriate restoration method.
Regular maintenance can mitigate cloudiness, with many drivers unaware that simple cleaning procedures can extend the lifespan of their headlights. Following a structured DIY approach can address this issue effectively and efficiently.
Essential Tools and Materials Needed for Headlight Restoration
Before diving into the restoration process, gather the necessary tools and materials. You will need sandpaper (800, 1500, and 2000 grit), a microfiber cloth, a UV sealant, and a degreaser. Optionally, you may use a polishing compound for finer touch-ups. Each item serves a specific function to ensure effective restoration, making your headlights shine like new.
Consider using specialized kits available on the market that include all essentials in a single package. These kits often come with instructions and are tailored for optimal results. However, if you prefer a DIY approach, assembling the mentioned materials will yield satisfactory results.
Having the right tools will streamline the process and ensure that you can follow each step meticulously without the need for last-minute trips to the store.
Step-by-Step Process to Restore Cloudy Headlights
Follow this detailed step-by-step guide to successfully restore your cloudy headlights:
- Preparation: Start by cleaning the headlight surface with a degreaser to remove any oil or grime. Dry the surface completely with a microfiber cloth.
- Sanding: Sequentially use 800 grit sandpaper to gently sand the surface in a circular motion. This step will remove the oxidized layer. After that, switch to 1500 grit, followed by 2000 grit sandpaper for a finer finish. Always keep the surface moist to avoid scratching the lens.
- Polishing: After sanding, apply a polishing compound to restore clarity. Use a clean cloth to buff the surface until it shines. This may require some elbow grease, but the results will be worth it.
- Sealing: To protect the headlights from future degradation, apply a UV sealant. This step is crucial as it provides a protective layer against UV rays and contaminants.
- Final Inspection: Once the sealant has dried, conduct a final inspection to ensure that both headlights match in clarity and shine.
This systematic approach will not only restore clarity but also enhance safety by improving visibility at night or during inclement weather conditions.
Comparative Table of Restoration Methods
| Method | Cost | Time Required | Effectiveness |
|---|---|---|---|
| DIY Sanding & Polishing | $10-$30 | 30-90 minutes | Up to 80% light output restoration |
| Store-bought Restoration Kits | $15-$40 | 30-60 minutes | Up to 80% light output restoration |
| Professional Restoration Services | $50-$150 | 1 hour | Up to 90% light output restoration |
Tips for Maintaining Restored Headlights
After restoring your headlights, implement a regular maintenance routine to keep them clear. Regularly wash them during car washes to remove dirt and grime. Apply a UV protectant every few months to prolong clarity and protect against environmental factors.
Additionally, inspect the headlights regularly for any signs of cloudiness returning. Early detection can often make the restoration easier in the long run, saving you time and effort.
Encouraging others to adopt this maintenance routine not only enhances safety but also boosts the vehicle’s overall aesthetic appeal, showcasing a commitment to vehicle upkeep.
FAQs
How do I know if my headlights need restoration?
If your headlights appear yellowed, hazy, or noticeably dimmer than before, these are clear indicators that restoration is needed. Regularly check the light output while driving at night; if visibility is compromised, it’s time to take action.
Can I use household products for headlight restoration?
While some household products like baking soda and vinegar can provide temporary improvement, they are not as effective as specific automotive products or kits. It’s recommended to opt for dedicated headlight restoration kits for best results.
Should I apply a sealant after restoration?
Absolutely. Applying a UV sealant after restoration is crucial to protect the renewed clarity of headlights from future oxidation and discoloration. This step will help maintain safety and aesthetics long-term.
Are professional services worth it?
Professional restoration services can be worth the investment, particularly for those seeking maximum clarity and efficiency. They often achieve higher effectiveness levels, potentially restoring up to 90% of light output, but for those on a budget, a DIY approach can yield significant results as well.
Where can I find more information about headlight restoration techniques?
For further details on cleaning methods, visit Sparkle and Shine: The Best Methods for Cleaning Your Car’s Headlight Exterior and for comprehensive DIY guides, see Restore Your Car Headlights: A Comprehensive DIY Guide for Clarity and Safety.
Understanding various headlight types
For detailed information about the different types of headlights and their respective performance, check out Understanding Car Headlight Types: LED vs. Halogen vs. HID.