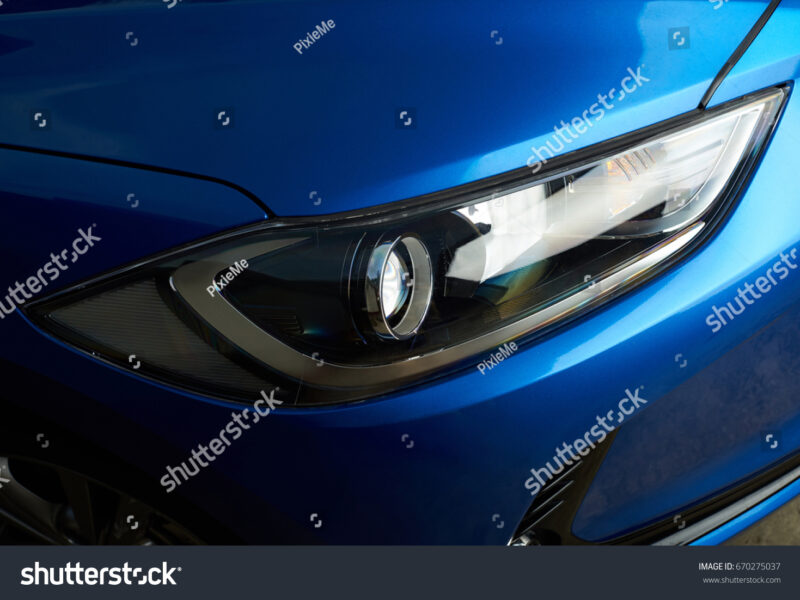
Embarking on a DIY foggy headlight restoration journey opens the door to restoring clarity and enhancing nighttime visibility for your vehicle. This systematic process targets the oxidation and yellowing of automotive headlight lenses, addressing the degradation caused by environmental exposure to harmful elements.
What Factors Contribute to Headlight Hazing and Why is Restoration Crucial?
Headlight hazing is primarily a consequence of the relentless degradation of the polycarbonate lens material. Prolonged exposure to ultraviolet (UV) radiation and various environmental contaminants leads to the breakdown of the factory-installed UV protective coating. This degradation manifests as microscopic pitting and oxidation, resulting in a yellow, cloudy appearance that drastically reduces light output. Such a condition compromises driving safety, particularly during nighttime. Restoration is not just important; it’s vital for recovering the original light intensity, thus improving road illumination and enhancing the aesthetic value of your vehicle.
What Components Are Typically Included in a DIY Foggy Headlight Restoration Kit?
When delving into the world of DIY headlight restoration, a standard diy foggy headlight restoration kit is your best friend. These kits commonly include a range of abrasive materials, polishing compounds, and sealants specifically designed to rejuvenate oxidized headlight lenses. Within these kits, you’ll find various items essential for performing the restoration process at home, including multiple grades of sandpaper or sanding discs (ranging from coarse 800-grit to fine 3000-grit), a polishing compound, a clear coat or UV sealant, and application pads or microfiber cloths.
What Tools and Materials are Essential for Effective DIY Headlight Restoration?
In addition to the contents of a basic kit, effective DIY headlight restoration demands a specific set of tools and materials to ensure optimal results while protecting your vehicle’s paintwork. Essential items include automotive masking tape for paint protection, clean microfiber cloths for application and wiping, a spray bottle filled with water for wet-sanding, and optional power tools like a drill with a polishing attachment for increased efficiency. Some advanced kits even come equipped with a specialized UV-cured clear coat for added protection.
How Does the DIY Headlight Restoration Process Unfold: A Step-by-Step Guide?
The DIY headlight restoration process unfolds through a series of carefully structured steps, each playing a pivotal role in restoring lens clarity. These steps encompass preparation, sanding, polishing, and sealing, allowing the removal of damaged layers and the application of fresh protection. Following this process ensures the effective removal of hazing and yellowing, ultimately improving light projection. Additionally, upgrading your car’s headlights to LED after restoration can significantly enhance visibility and energy efficiency.
- Preparation: Start by thoroughly cleaning the headlight lenses with soap and water to eliminate surface dirt and debris. Next, apply automotive masking tape around the perimeter of the headlight assembly, carefully bordering the lens to shield the adjacent paintwork from sanding abrasions and chemical exposure.
- Initial Sanding (Coarse Grit): Begin with the coarsest sandpaper (e.g., 800 or 1000-grit), wet-sanding the entire lens surface in overlapping, consistent motions. This critical step removes the oxidized outer layer and existing UV coating. Keep the surface wet throughout to prevent overheating and to facilitate effective material removal.
- Intermediate Sanding (Medium Grit): Transition to a finer grit sandpaper (e.g., 1500 or 2000-grit). Continue wet-sanding, ensuring that all scratch marks from the previous coarser grit are systematically removed, refining the lens surface for the next polishing phase.
- Fine Sanding (Fine Grit): Conclude the sanding phase using the finest grit sandpaper (e.g., 2500 or 3000-grit). Wet-sand until the lens appears uniformly hazy with no visible deep scratches, creating a smooth surface primed for polishing compounds.
- Polishing: Take a small amount of polishing compound and apply it to a clean microfiber cloth or a foam polishing pad attached to a drill. Work the compound into the lens using circular or back-and-forth motions with moderate pressure. Continue polishing until the lens clarity noticeably improves and the hazy appearance fades.
- Cleaning and Drying: Wipe off any residual polishing compound with a clean microfiber cloth. Ensure that the lens surface is completely dry and devoid of dust or contaminants before you move on to the final sealing step.
- UV Sealing/Clear Coat Application: Finally, apply the UV sealant or clear coat provided in the kit according to the instructions. This step is crucial as it introduces a protective layer against future UV degradation and environmental exposure, ensuring the longevity of the restoration. Allow sufficient curing time as directed by the product manufacturer.
Implementing a robust UV sealant after restoration is critical; without it, the newly exposed polycarbonate will be vulnerable to rapid re-oxidization and hazing.
What are the Comparative Aspects of Headlight Restoration Methods?
When it comes to headlight restoration, various methods can be employed, each offering distinct advantages and disadvantages in terms of cost, effectiveness, and durability. Understanding these comparisons is vital for selecting the most suitable restoration strategy tailored to specific vehicle needs and personal preferences. Key considerations include the cost-effectiveness of a DIY kit versus the enduring results achieved by professional services.
| Restoration Method | Cost (Estimated) | Effectiveness | Longevity (Approximate) | Required Skill Level |
|---|---|---|---|---|
| DIY Headlight Restoration Kit | $15 – $50 | Good to Excellent | 6 months – 2 years (with proper sealing) | Beginner to Intermediate |
| Professional Service | $75 – $200 per pair | Excellent | 2 – 5 years | Professional |
| Toothpaste/Home Remedies | Minimal ($0 – $10) | Fair (temporary) | Weeks to 1-2 months | Beginner |
What are the Benefits and Considerations of DIY Headlight Restoration?
The allure of DIY headlight restoration lies in significant benefits, particularly cost savings compared to professional services and the convenience of performing the task from home. However, meticulous execution and awareness of the process are essential to sidestep potential pitfalls. One of the most substantial benefits includes the remarkable enhancement in light output, potentially increasing nighttime driving visibility by up to 100%, as reported by automotive safety evaluations. The process not only uplifts the vehicle’s performance but also refurbishes the overall aesthetic appeal of the headlights.
Nevertheless, there are considerations to acknowledge. Improper application can lead to uneven results or lens damage if sanding is insufficiently controlled. The longevity of a DIY restoration heavily depends on the quality of the final UV sealant; inferior sealants will result in quicker re-hazing. Regular reapplication of UV protectants can extend the restoration’s life. For a comprehensive understanding of battery health, another important aspect of vehicle maintenance, explore resources on how short drives impact your car battery’s health and longevity.
Frequently Asked Questions About DIY Headlight Restoration
How long does a DIY headlight restoration typically last? Depending on the quality of the UV sealant applied and environmental conditions, a DIY headlight restoration can maintain clarity for 6 months to 2 years. Regular reapplication of UV protectants can significantly extend this duration.
Can professional headlight restoration offer superior results to a DIY kit? Yes, professional restoration services often harness industrial-grade equipment and durable UV coatings, yielding results that may last between 2 to 5 years, surpassing the longevity and consistency of most DIY kits.
Is it possible to damage headlights during a DIY restoration? Absolutely, improper techniques during a DIY restoration can result in damage, including deep scratches from incorrect sanding grit usage or excessive pressure. Inadequate sealing can leave polycarbonate vulnerable to rapid re-oxidation and further degradation.