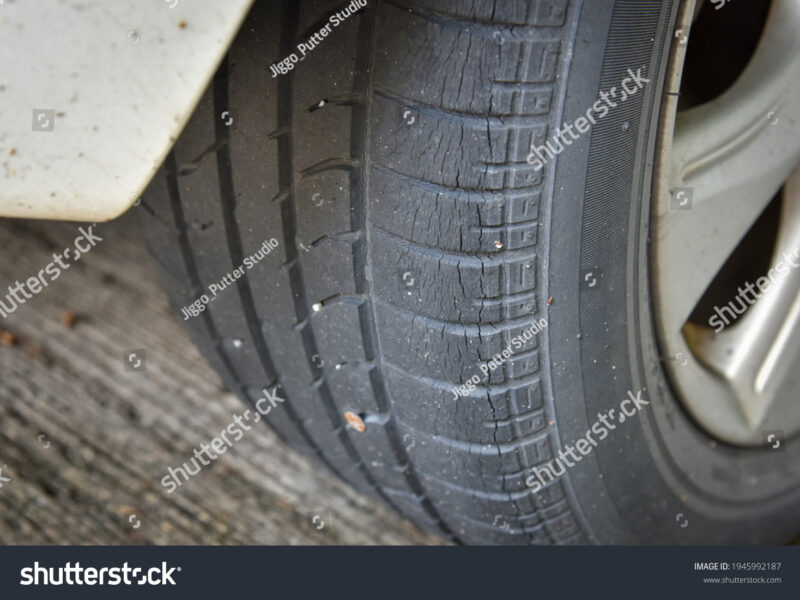
When it comes to tire repair, restoring a damaged pneumatic tire is essential for safety on the road. Whether addressing punctures or air leaks, effective tire repair enables drivers to continue their journey or reach a nearby service center. This vital process not only enhances roadside emergency preparedness but is also a key component of routine vehicle maintenance.
What Essential Tools Are Required for Flat Tire Repair?
To successfully perform a flat tire repair, you’ll need a specific set of tools designed for roadside assistance or temporary fixes. The indispensable equipment includes a vehicle jack, a lug wrench, a fully inflated spare tire, and optionally, a tire repair kit. Additionally, safety items such as reflective triangles or flares are crucial for visibility during the repair process, effectively contributing to optimizing overall vehicle health.
- Vehicle Jack: This mechanical or hydraulic device lifts one corner of the vehicle, providing clearance to remove the flat tire.
- Lug Wrench: A cross-shaped or L-shaped tool designed for loosening and tightening the lug nuts securing the wheel to the hub.
- Spare Tire: A pre-inflated wheel and tire assembly, either a full-size spare or a temporary “donut” spare, utilized to replace the damaged tire.
- Tire Repair Kit: Typically includes rubber plugs, a reamer tool, an insertion tool, and rubber cement for patching small punctures.
- Air Compressor: A portable unit, often powered by the vehicle’s 12V outlet, used for inflating the spare tire or re-inflating a temporarily repaired tire.
- Gloves and Flashlight: Essential protective gear and illumination for safety and visibility, particularly in low-light or adverse conditions.
What Are the Step-by-Step Procedures for Replacing a Flat Tire?
Replacing a flat tire involves a clear, systematic sequence of actions that prioritize safety and ensure proper installation of the spare tire. The process begins with securing the vehicle and concludes with checking lug nut torque and tire pressure, crucial elements of regular vehicle maintenance.
- Ensure Safety: Pull over to a safe, level area away from traffic. Activate hazard lights and set up reflective triangles or flares behind the vehicle. Always engage the parking brake.
- Gather Tools: Retrieve the spare tire, jack, and lug wrench from your vehicle.
- Loosen Lug Nuts: Before lifting the vehicle, use the lug wrench to slightly loosen the lug nuts on the flat tire by turning them counter-clockwise. Avoid removing them completely at this stage.
- Position the Jack: Place the jack under the vehicle’s frame near the flat tire at the manufacturer-specified jacking point. Consult the vehicle’s owner’s manual for precise locations.
- Lift the Vehicle: Gradually raise the vehicle using the jack until the flat tire is fully off the ground, ensuring stability.
- Remove Flat Tire: Completely unscrew the lug nuts and carefully remove the flat tire from the hub. Place it under the vehicle frame near the jack as an additional safety measure.
- Install Spare Tire: Mount the spare tire onto the wheel studs, aligning the bolt holes, and hand-tighten the lug nuts until snug.
- Lower Vehicle: Gently lower the vehicle back to the ground using the jack.
- Tighten Lug Nuts: With the vehicle on the ground, use the lug wrench to securely tighten the lug nuts in a star or crisscross pattern for even pressure.
- Stow Equipment: Securely store the flat tire, jack, and lug wrench back in the vehicle.
- Check Tire Pressure: Immediately verify the spare tire’s pressure and head to the nearest service center for professional inspection and repair of the original tire.
How Do Different Types of Tire Repairs Compare?
The method of tire repair largely depends on the type of damage. From temporary plugs for minor punctures to comprehensive patching or complete tire replacement, the approach reflects the severity and location of the damage. Different repair techniques hold various levels of effectiveness and longevity, much like selecting components for vehicle safety systems.
| Repair Type | Description | Suitable Damage | Longevity/Purpose | Considerations |
|---|---|---|---|---|
| Tire Plug | A rubber-coated cord inserted into the puncture from the exterior. | Small punctures (up to 1/4 inch) in the tire tread area. | Temporary fix; allows driving to a repair shop. | Not recommended for permanent repair by tire manufacturers. |
| Tire Patch | A rubber patch applied to the inner liner of the tire after cleaning and preparing the surface. | Punctures (up to 1/4 inch) in the tire tread area. | Permanent repair, when professionally installed. | Requires tire removal from the wheel and professional installation. |
| Plug & Patch (Combination Repair) | Combines an external plug with an internal patch. | Punctures (up to 1/4 inch) in the tire tread area. | Considered the most reliable permanent repair method according to industry standards. | Requires professional service and tire removal. |
| Tire Replacement | Installation of a new tire. | Sidewall damage, large punctures (over 1/4 inch), damage to the bead, or multiple punctures. | Permanent solution. | Most expensive option; necessary for irreparable damage. |
When is Professional Flat Tire Repair Mandatory?
Professional flat tire repair is essential when damage surpasses typical roadside fixes or impacts critical structural elements of the tire. Any harm located on the tire sidewall, punctures exceeding approximately 1/4 inch (6mm), or multiple adjacent punctures usually render a tire irreparable via standard kits. Furthermore, damage to the tire’s bead or exposed internal cords warrants immediate professional evaluation and likely replacement, as the risks associated with driving on a compromised tire include severe tire failure.
What Are the Safety Precautions for Performing a Tire Repair?
Prioritizing safety during a tire repair is pivotal to prevent injury and ensure vehicle stability. Always work on a level surface away from traffic, activating hazard lights and utilizing reflective warnings. Engage the vehicle’s parking brake and consider using wheel chocks if available. Never position any body part under a vehicle that’s solely supported by a jack. Consult your vehicle’s owner’s manual for specific jacking points and procedures, as improper placement can lead to both vehicle damage and accidents. After installing the spare, promptly verify its inflation pressure and drive cautiously at reduced speeds to the nearest service center for further inspection.
FAQs about Flat Tire Repair
Q: How long can I drive on a spare tire?
A: Temporary spare tires, often known as “donut” spares, are designed for limited use. Typically, you should not exceed distances of 50-70 miles (80-110 kilometers) and speeds of 50 mph (80 km/h). Their smaller size and lesser tread depth mean they’re not meant for long-term driving.
Q: Can all flat tires be repaired?
A: Not every flat tire can be repaired. A tire is generally deemed irreparable if the puncture is located in the sidewall, exceeds 1/4 inch (6mm) in diameter, features multiple punctures close together, or has been operated while severely underinflated, leading to internal damage. Professional inspection is essential for determining whether a tire can be repaired.
Q: What is the average cost of a professional tire repair?
A: The typical cost for a professional tire repair—often a combination of plug and patch—ranges from $20 to $40, influenced by the service provider and geographic region. This price usually encompasses tire dismounting, interior repair, remounting, and balancing of the wheel.